Author: 13l50qfydqlo

  • CAN_controller

    電気的データ改ざん自動化プログラム

    電気的データ改ざん自動化の攻撃ツールのArty内のプログラム。

    説明

    攻撃ツール内にCANコントローラを実装し、それから情報を抽出しながら攻撃を行う。プログラムにパラメータとして、改ざん対象メッセージ及び改ざん先のメッセージを(スタッフビットも含めた)ビット列を渡し、バス上のECUと同じビットタイミングの設定を行うことで、自動的に攻撃信号出力位置を計算し改ざんを行ってくれる。
    ただし、そのままではあまり攻撃が成功しない。手動で電位差操作幅を調節可能なようにしてあり、調節することで攻撃できることもある。できないこともある。

    モジュールの説明

    diagram

    • clk_wiz
      クロック生成モジュール
    • can_top
      githubから持ってきたCANコントローラのプログラム。(CAN Protocol Controller)sample pointのちょっと前にsample_point_qが1になる。以下のコードで2Tq前に1になるようにしている。最後の数字を2から3に変えれば3Tq前に1になる。
      assign       sample_point_q = (i_can_btl.clk_en_q & i_can_btl.seg1 & (i_can_btl.quant_cnt == (time_segment1 + i_can_btl.delay - 2)));
    • can_registers
      can_registerがいっぱい入っているビットタイミングの設定などを保存している。
    • can_btl
      Bit Time Logicモジュール。このモジュールが再同期などの処理を行っている。攻撃に必要な情報はここから取り出している。
    • can_bsp
      あんまり読んでないので分からないが、おそらくマイコンから送られてきた送信メッセージをストックしたり、受信メッセージをマイコンに渡したりしている。
    • initializer
      can_topを動作させるには初めにビットタイミングの設定などの初期設定を行う必要があるため、それを行うためのモジュール。CAN Protocol Controllerに付属していたシミュレーション用プログラムの初期化信号を見てまねた。現在の設定:SJW:2Tq, TSEG1:9Tq, TSEG2:6Tq
    • MODULE_CONTROLLER
      攻撃対象メッセージの判定などを行っているモジュール群。
      • BUS_MSG_OBSERVER
        バスの波形を一定時間ごとにサンプリングしてビットの値を配列に格納するモジュール。
      • STATE_DETECTOR
        バス上の状態を判別するモジュール。メッセージフレームが流れているかどうか。
      • MSG_FILTER
        攻撃対象メッセージの判定を行ない、トリガを出力。また、攻撃スイッチがONであれば攻撃用のトリガーも出力する。このトリガが立っていれば、攻撃回路が回る。
    • ATTACK_MODULE
      攻撃信号を出力するモジュール。攻撃する必要のあるビットで、sample_point_qが1になったら攻撃信号を出力。一定カウントで出力停止。
    • counter
      攻撃信号幅を手動で調節するためのモジュール。ボタンを押すごとにカウンターを+2する。18になったら10に戻す。

    I/O Portの説明

    プロジェクトをコピーするとこの設定がよくバグるので注意。その場合は以下の画像のように設定しなおす。 pin

    • 入力信号
      • btn1
        Arty上のbtn1の入力
      • clk
        クロック入力100MHz
      • can_signal_in
        CANトランシーバでA/D変換された信号を入力
      • SW_0
        Arty上のSW0の入力
    • 出力信号
      • triger
        オシロようのトリガ。攻撃対象メッセージが来たら出力。
      • to_dominant
        1→0の攻撃信号。何もしない時はリセッシブ、電位差操作時はドミナント。
      • to_recessive
        0→1の攻撃信号。
      • debug_0, debug_1, degbug_2
        デバッグ用のポート

    使用方法

    1. 環境を整える
      まず、攻撃対象のネットワークを構成する必要がある。修論の実験ではCANoeを用いてネットワークを構成している。VN1630AにはCANのポートが2つあり、一方を送信側、他方を受信側としている。ハブなどを使用しそのCANバスに攻撃ツールを接続する。実験時のCANoe設定ファイルはCANoeConfigフォルダに入れてある。

    2. プログラムのパラメータ設定
      initializer.v:
      ビットタイミングの設定を記述しておく。

      /* Bit Timing 0 register value */
      `define CAN_TIMING0_BRP                 6'h0    /* Baud rate prescaler (2*(value+1)) */
      `define CAN_TIMING0_SJW                 2'h1    /* SJW (value+1) */
      /* Bit Timing 1 register value */
      `define CAN_TIMING1_TSEG1               4'h8    /* TSEG1 segment (value+1) */
      `define CAN_TIMING1_TSEG2               3'h5    /* TSEG2 segment (value+1) */

      MSG_FILTER.v :
      TARGETに攻撃対象メッセージのIDを指定する。ID内にスタッフビットが入る場合にはそれも含める。

      parameter TARGET = {96'b1,1'b0,11'h19a}; //id:0x19A

      ATTACK_MODULE.v :
      UNATTACKED_MSGに攻撃対象メッセージのビット列、ATTACKED_MSGに改ざん後のビット列を格納する。 MSG_Lはメッセージの長さ。異なる長さのメッセージ同士の改ざんには非対応。

      parameter UNATTACKED_MSG =  44'b00011001101000001001000001000010010011001111;   //ID:19A,DATA:0のメッセージ
      parameter ATTACKED_MSG =    44'b00011001101000001001000001001110000101010110;  //ID:19A,DATA:1のメッセージ
      parameter MSG_L = 8'd44;
    3. generate bitstream
      vivadoでビットストリームを生成し、Artyに書き込む。

    4. スイッチON
      Arty上のSW0を切り替えると攻撃が始まる。

    5. 電位差操作幅調節
      Arty上のBTN1を押すことで電位差操作幅を調節できる。デフォルトは10*62.5ns=625ns。一回押すごとにカウンタが2増える。カウンタは18まで増え、次にボタンを押すと10に戻る。つまり、10*62.5ns~18*62.5nsの範囲で2*62.5ns毎に調節できる。

    6. その他
      4の調節で攻撃がうまくいかなかった場合、sample_point_qの条件を調節することで攻撃信号出力開始位置をずらしてみることもできる。

    攻撃回路

    Arty周りの回路についての説明。(1)(2)(3)はArtyの対象のポートにつなぐ。(4)(5)は攻撃対象のCANバスに接続する。

    Visit original content creator repository https://github.com/108yen/CAN_controller
  • CAN_controller

    電気的データ改ざん自動化プログラム

    電気的データ改ざん自動化の攻撃ツールのArty内のプログラム。

    説明

    攻撃ツール内にCANコントローラを実装し、それから情報を抽出しながら攻撃を行う。プログラムにパラメータとして、改ざん対象メッセージ及び改ざん先のメッセージを(スタッフビットも含めた)ビット列を渡し、バス上のECUと同じビットタイミングの設定を行うことで、自動的に攻撃信号出力位置を計算し改ざんを行ってくれる。
    ただし、そのままではあまり攻撃が成功しない。手動で電位差操作幅を調節可能なようにしてあり、調節することで攻撃できることもある。できないこともある。

    モジュールの説明

    diagram

    • clk_wiz
      クロック生成モジュール
    • can_top
      githubから持ってきたCANコントローラのプログラム。(CAN Protocol Controller)sample pointのちょっと前にsample_point_qが1になる。以下のコードで2Tq前に1になるようにしている。最後の数字を2から3に変えれば3Tq前に1になる。

      assign       sample_point_q = (i_can_btl.clk_en_q & i_can_btl.seg1 & (i_can_btl.quant_cnt == (time_segment1 + i_can_btl.delay - 2)));
    • can_registers
      can_registerがいっぱい入っているビットタイミングの設定などを保存している。
    • can_btl
      Bit Time Logicモジュール。このモジュールが再同期などの処理を行っている。攻撃に必要な情報はここから取り出している。
    • can_bsp
      あんまり読んでないので分からないが、おそらくマイコンから送られてきた送信メッセージをストックしたり、受信メッセージをマイコンに渡したりしている。
    • initializer
      can_topを動作させるには初めにビットタイミングの設定などの初期設定を行う必要があるため、それを行うためのモジュール。CAN Protocol Controllerに付属していたシミュレーション用プログラムの初期化信号を見てまねた。現在の設定:SJW:2Tq, TSEG1:9Tq, TSEG2:6Tq
    • MODULE_CONTROLLER
      攻撃対象メッセージの判定などを行っているモジュール群。

      • BUS_MSG_OBSERVER
        バスの波形を一定時間ごとにサンプリングしてビットの値を配列に格納するモジュール。
      • STATE_DETECTOR
        バス上の状態を判別するモジュール。メッセージフレームが流れているかどうか。
      • MSG_FILTER
        攻撃対象メッセージの判定を行ない、トリガを出力。また、攻撃スイッチがONであれば攻撃用のトリガーも出力する。このトリガが立っていれば、攻撃回路が回る。
    • ATTACK_MODULE
      攻撃信号を出力するモジュール。攻撃する必要のあるビットで、sample_point_qが1になったら攻撃信号を出力。一定カウントで出力停止。
    • counter
      攻撃信号幅を手動で調節するためのモジュール。ボタンを押すごとにカウンターを+2する。18になったら10に戻す。

    I/O Portの説明

    プロジェクトをコピーするとこの設定がよくバグるので注意。その場合は以下の画像のように設定しなおす。
    pin

    • 入力信号
      • btn1
        Arty上のbtn1の入力
      • clk
        クロック入力100MHz
      • can_signal_in
        CANトランシーバでA/D変換された信号を入力
      • SW_0
        Arty上のSW0の入力
    • 出力信号
      • triger
        オシロようのトリガ。攻撃対象メッセージが来たら出力。
      • to_dominant
        1→0の攻撃信号。何もしない時はリセッシブ、電位差操作時はドミナント。
      • to_recessive
        0→1の攻撃信号。
      • debug_0, debug_1, degbug_2
        デバッグ用のポート

    使用方法

    1. 環境を整える
      まず、攻撃対象のネットワークを構成する必要がある。修論の実験ではCANoeを用いてネットワークを構成している。VN1630AにはCANのポートが2つあり、一方を送信側、他方を受信側としている。ハブなどを使用しそのCANバスに攻撃ツールを接続する。実験時のCANoe設定ファイルはCANoeConfigフォルダに入れてある。

    2. プログラムのパラメータ設定
      initializer.v:
      ビットタイミングの設定を記述しておく。

      /* Bit Timing 0 register value */
      `define CAN_TIMING0_BRP                 6'h0    /* Baud rate prescaler (2*(value+1)) */
      `define CAN_TIMING0_SJW                 2'h1    /* SJW (value+1) */
      /* Bit Timing 1 register value */
      `define CAN_TIMING1_TSEG1               4'h8    /* TSEG1 segment (value+1) */
      `define CAN_TIMING1_TSEG2               3'h5    /* TSEG2 segment (value+1) */

      MSG_FILTER.v :
      TARGETに攻撃対象メッセージのIDを指定する。ID内にスタッフビットが入る場合にはそれも含める。

      parameter TARGET = {96'b1,1'b0,11'h19a}; //id:0x19A

      ATTACK_MODULE.v :
      UNATTACKED_MSGに攻撃対象メッセージのビット列、ATTACKED_MSGに改ざん後のビット列を格納する。
      MSG_Lはメッセージの長さ。異なる長さのメッセージ同士の改ざんには非対応。

      parameter UNATTACKED_MSG =  44'b00011001101000001001000001000010010011001111;   //ID:19A,DATA:0のメッセージ
      parameter ATTACKED_MSG =    44'b00011001101000001001000001001110000101010110;  //ID:19A,DATA:1のメッセージ
      parameter MSG_L = 8'd44;
    3. generate bitstream
      vivadoでビットストリームを生成し、Artyに書き込む。

    4. スイッチON
      Arty上のSW0を切り替えると攻撃が始まる。

    5. 電位差操作幅調節
      Arty上のBTN1を押すことで電位差操作幅を調節できる。デフォルトは10*62.5ns=625ns。一回押すごとにカウンタが2増える。カウンタは18まで増え、次にボタンを押すと10に戻る。つまり、10*62.5ns~18*62.5nsの範囲で2*62.5ns毎に調節できる。

    6. その他
      4の調節で攻撃がうまくいかなかった場合、sample_point_qの条件を調節することで攻撃信号出力開始位置をずらしてみることもできる。

    攻撃回路

    Arty周りの回路についての説明。(1)(2)(3)はArtyの対象のポートにつなぐ。(4)(5)は攻撃対象のCANバスに接続する。

    Visit original content creator repository
    https://github.com/108yen/CAN_controller

  • Text-to-Clip_Retrieval

    Preface

    This is a functional fork of the Text-to-Clip project.

    • We ease the installation and provide a docker environment to run this project.

    • If this fork save you precious hours of painful installation, please cite our work:

      @article{EscorciaDJGS2018,
      author    = {Victor Escorcia and
                   Cuong Duc Dao and
                   Mihir Jain and
                   Bernard Ghanem and
                   Cees Snoek},
      title     = {Guess Where? Actor-Supervision for Spatiotemporal Action Localization},
      journal   = {CoRR},
      volume    = {abs/1804.01824},
      year      = {2018},
      url       = {http://arxiv.org/abs/1804.01824},
      archivePrefix = {arXiv},
      eprint    = {1804.01824}
      }
      

      TODO: update bibtex with Corpus-Moment-Retrieval-work

    • If you like the installation procedure, give us a ⭐ in the github banner.

    Installation with Docker

    1. Install docker and nvidia-docker.

      Please follow the installation instructions of your machine.
      As long as you can run docker hello-world container and test nvidia-smi with a cuda container, you are ready to go.

      • Let’s test that you are ready by pulling out our docker image

        docker run --runtime=nvidia -ti escorciavkaust/caffe-python-opencv:latest caffe device_query --gpu 0

        You should read the information of your GPU in your terminal.

    2. Let’s go over the installation procedure without the headache of compilation errors.

      • Let’s use a snapshot of the code with less headaches

        git clone git@github.com:escorciav/Text-to-Clip_Retrieval.git
        git checkout cp-functional-testing
      • Then, launch a container from the root folder of the project.

        docker run --runtime=nvidia --rm -v /etc/passwd:/etc/passwd -u $(id -u):$(id -g) -v $(pwd):$(pwd) -w $(pwd) -ti escorciavkaust/caffe-python-opencv:latest bash

      • In case, you are not in the working directory. Move to that folder.

        Make sure that you replace the [...] with your filesystem structure when you copy-paste the command below 😅.

        cd [...]/Text-to-Clip_Retrieval

      • Follow the instructions outlined here from step 2 onwards.

    That’s all, two simple steps to get yourself up and running 😉.

    What if?

    1. I close the container. Do I need to repeat the installation steps?

      Nope. All the libraries reside inside your root folder not in the image.

    2. I close the container. How can I launch it again?

      Go to the root folder and type

      docker run --runtime=nvidia --rm -v /etc/passwd:/etc/passwd -u $(id -u):$(id -g) -v $(pwd):$(pwd) -w $(pwd) -ti escorciavkaust/caffe-python-opencv:latest bash

    3. I wanna use pass my own data, and it is in a different folder. How can I access it from the container?

      Let’s assume your data is in your /scratch/awesome-dataset

      docker run --runtime=nvidia --rm -v /etc/passwd:/etc/passwd -u $(id -u):$(id -g) -v $(pwd):$(pwd) -v /scratch/awesome-dataset:/awesome-dataset -w $(pwd) -ti escorciavkaust/caffe-python-opencv:latest bash

      You will find it in /awesome-dataset inside the container.

    4. I can’t find the Text-to-Clip_Retrieval folder inside the container.

      Most probably, you were not in the root folder when you launched it.

      Make sure that you replace the [...] with your filesystem structure when you copy-paste the command below.

      cd [...]/Text-to-Clip_Retrieval
      docker run --runtime=nvidia --rm -v /etc/passwd:/etc/passwd -u $(id -u):$(id -g) -v $(pwd):$(pwd) -w $(pwd) -ti escorciavkaust/caffe-python-opencv:latest bash
    5. Can you add the Text-to-Clip binaries to the docker image?

      Why not? gimme a ⭐ in the github banner and I will make time for that. The more stars I get, the priority increases.

    Organization details

    This is a 3rdparty project, I used git to keep track different changes.

    • The default branch devel corresponds to a derivative work related to Corpus Moment Retrieval Project.

      If this branch is useful for you, we would appreciate that you cite our work:

      @article{EscorciaDJGS2018,
      author    = {Victor Escorcia and
                   Cuong Duc Dao and
                   Mihir Jain and
                   Bernard Ghanem and
                   Cees Snoek},
      title     = {Guess Where? Actor-Supervision for Spatiotemporal Action Localization},
      journal   = {CoRR},
      volume    = {abs/1804.01824},
      year      = {2018},
      url       = {http://arxiv.org/abs/1804.01824},
      archivePrefix = {arXiv},
      eprint    = {1804.01824}
      }
      

      TODO: update bibtex with Corpus-Moment-Retrieval-work

    • The original project is on the master branch.

    • A functional version of the Text-to-Clip project that is expected to run without issues is on the cp-functional-testing branch.

    Original README 👇


    Multilevel Language and Vision Integration for Text-to-Clip Retrieval

    Code released by Huijuan Xu (Boston University).

    Introduction

    We address the problem of text-based activity retrieval in video. Given a
    sentence describing an activity, our task is to retrieve matching clips
    from an untrimmed video. Our model learns a fine-grained similarity metric
    for retrieval and uses visual features to modulate the processing of query
    sentences at the word level in a recurrent neural network. A multi-task
    loss is also employed by adding query re-generation as an auxiliary task.

    License

    Our code is released under the MIT License (refer to the LICENSE file for
    details).

    Citing

    If you find our paper useful in your research, please consider citing:

    @inproceedings{xu2019multilevel,
    title={Multilevel Language and Vision Integration for Text-to-Clip Retrieval.},
    author={Xu, Huijuan and He, Kun and Plummer, Bryan A. and Sigal, Leonid and Sclaroff,
    Stan and Saenko, Kate},
    booktitle={AAAI},
    year={2019}
    }
    

    Contents

    1. Installation
    2. Preparation
    3. Train Proposal Network
    4. Extract Proposal Features
    5. Training
    6. Testing

    Installation:

    1. Clone the Text-to-Clip_Retrieval repository.

      git clone --recursive git@github.com:VisionLearningGroup/Text-to-Clip_Retrieval.git
    2. Build Caffe3d with pycaffe (see: Caffe installation
      instructions
      ).

      Note: Caffe must be built with Python support!

    cd ./caffe3d
    
    # If have all of the requirements installed and your Makefile.config in
      place, then simply do:
    make -j8 && make pycaffe
    1. Build lib folder.

      cd ./lib
      make

    Preparation:

    1. We convert the orginal data annotation files into json format.

      # train data json file
      caption_gt_train.json
      # test data json file
      caption_gt_test.json
    2. Download the videos in Charades
      dataset
      and extract frames at 25fps.

    Train Proposal Network:

    1. Generate the pickle data for training proposal network model.

      cd ./preprocess
      # generate training data
      python generate_roidb_modified_freq1.py
    2. Download C3D classification pretrain model to ./pretrain/ .

    3. In root folder, run proposal network training:

      bash ./experiments/train_rpn/script_train.sh
    4. We provide one set of trained proposal network model weights.

    Extract Proposal Features:

    1. In root folder, extract proposal features for training data and save as
      hdf5 data.

      bash ./experiments/extract_HDF_for_LSTM/script_test.sh

    Training:

    1. In root folder, run:
      bash ./experiments/Text_to_Clip/script_train.sh

    Testing:

    1. Generate the pickle data for testing the Text_to_Clip model.

      cd ./preprocess
      # generate test data
      python generate_roidb_modified_freq1_full_retrieval_test.py
    2. Download one sample model to ./experiments/Text_to_Clip/snapshot/ .

      One Text_to_Clip model on Charades-STA dataset is provided in:
      caffemodel
      .

      The provided model has Recall@1 (tIoU=0.7) score ~15.6% on the
      test set.

    3. In root folder, generate the similarity scores on the test set and save
      as pickle file.

      bash ./experiments/Text_to_Clip/test_fast/script_test.sh
    4. Get the evaluation results.

      cd ./experiments/Text_to_Clip/test_fast/evaluation/
      bash bash.sh

    Visit original content creator repository
    https://github.com/escorciav/Text-to-Clip_Retrieval

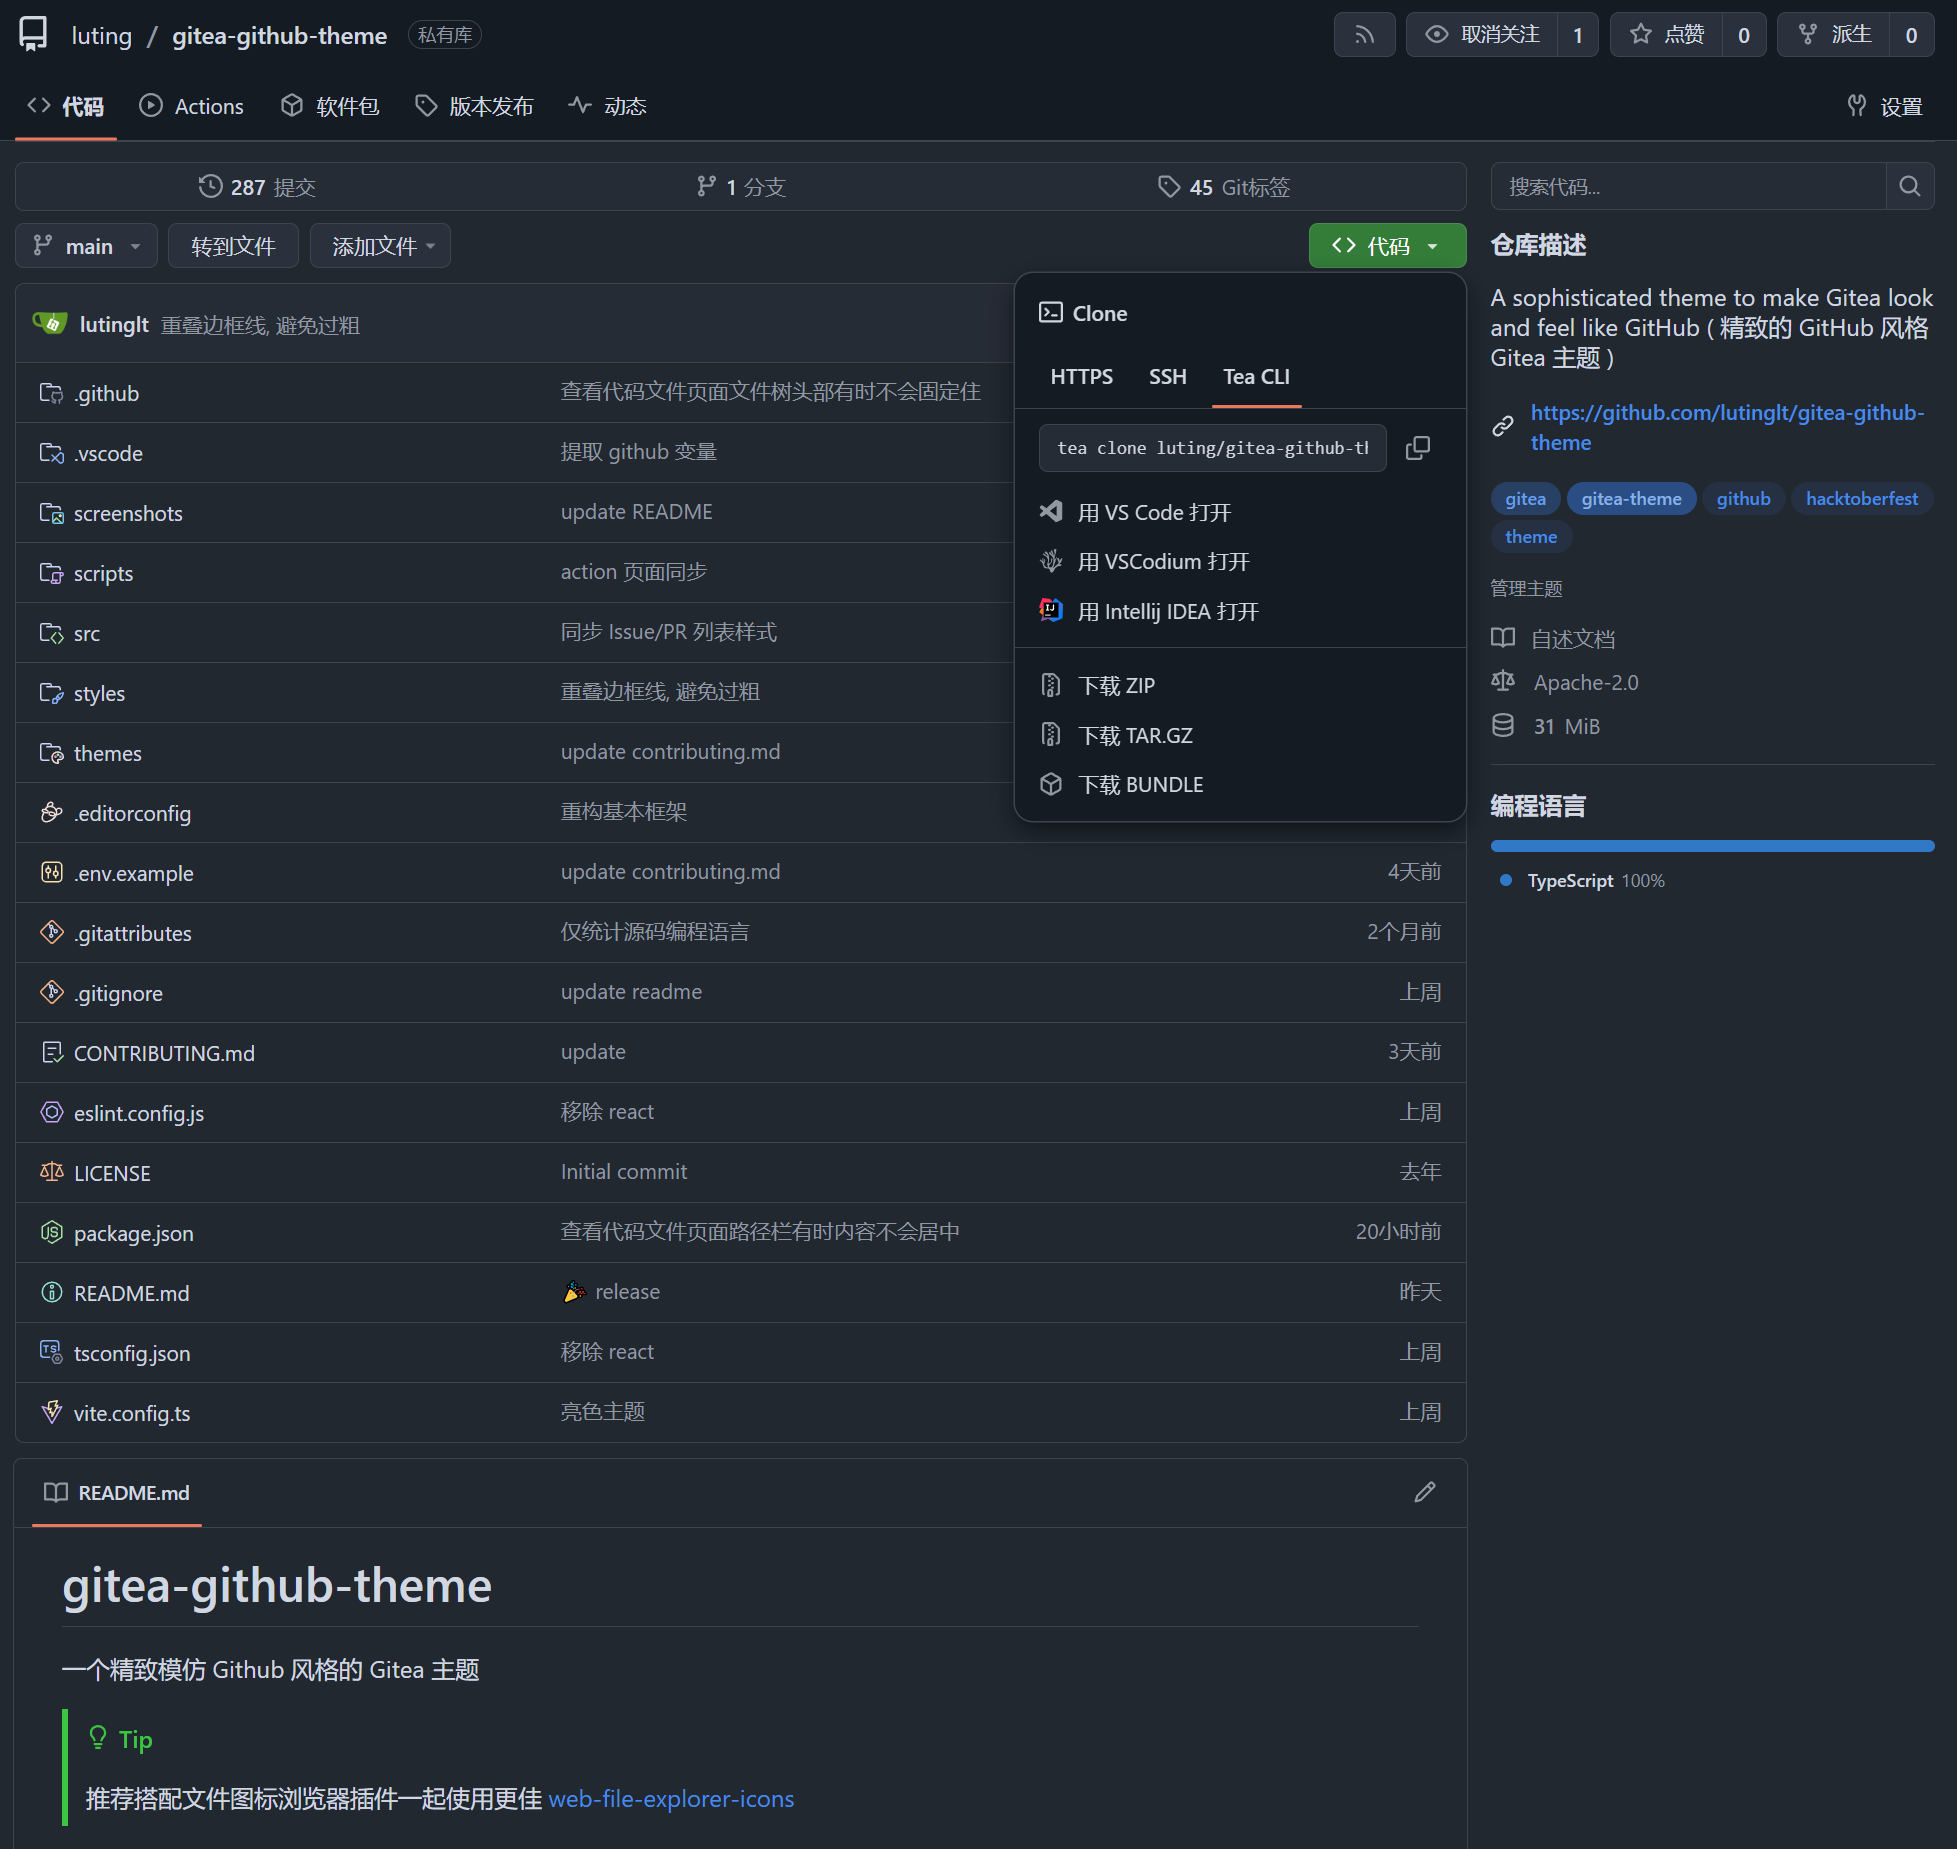
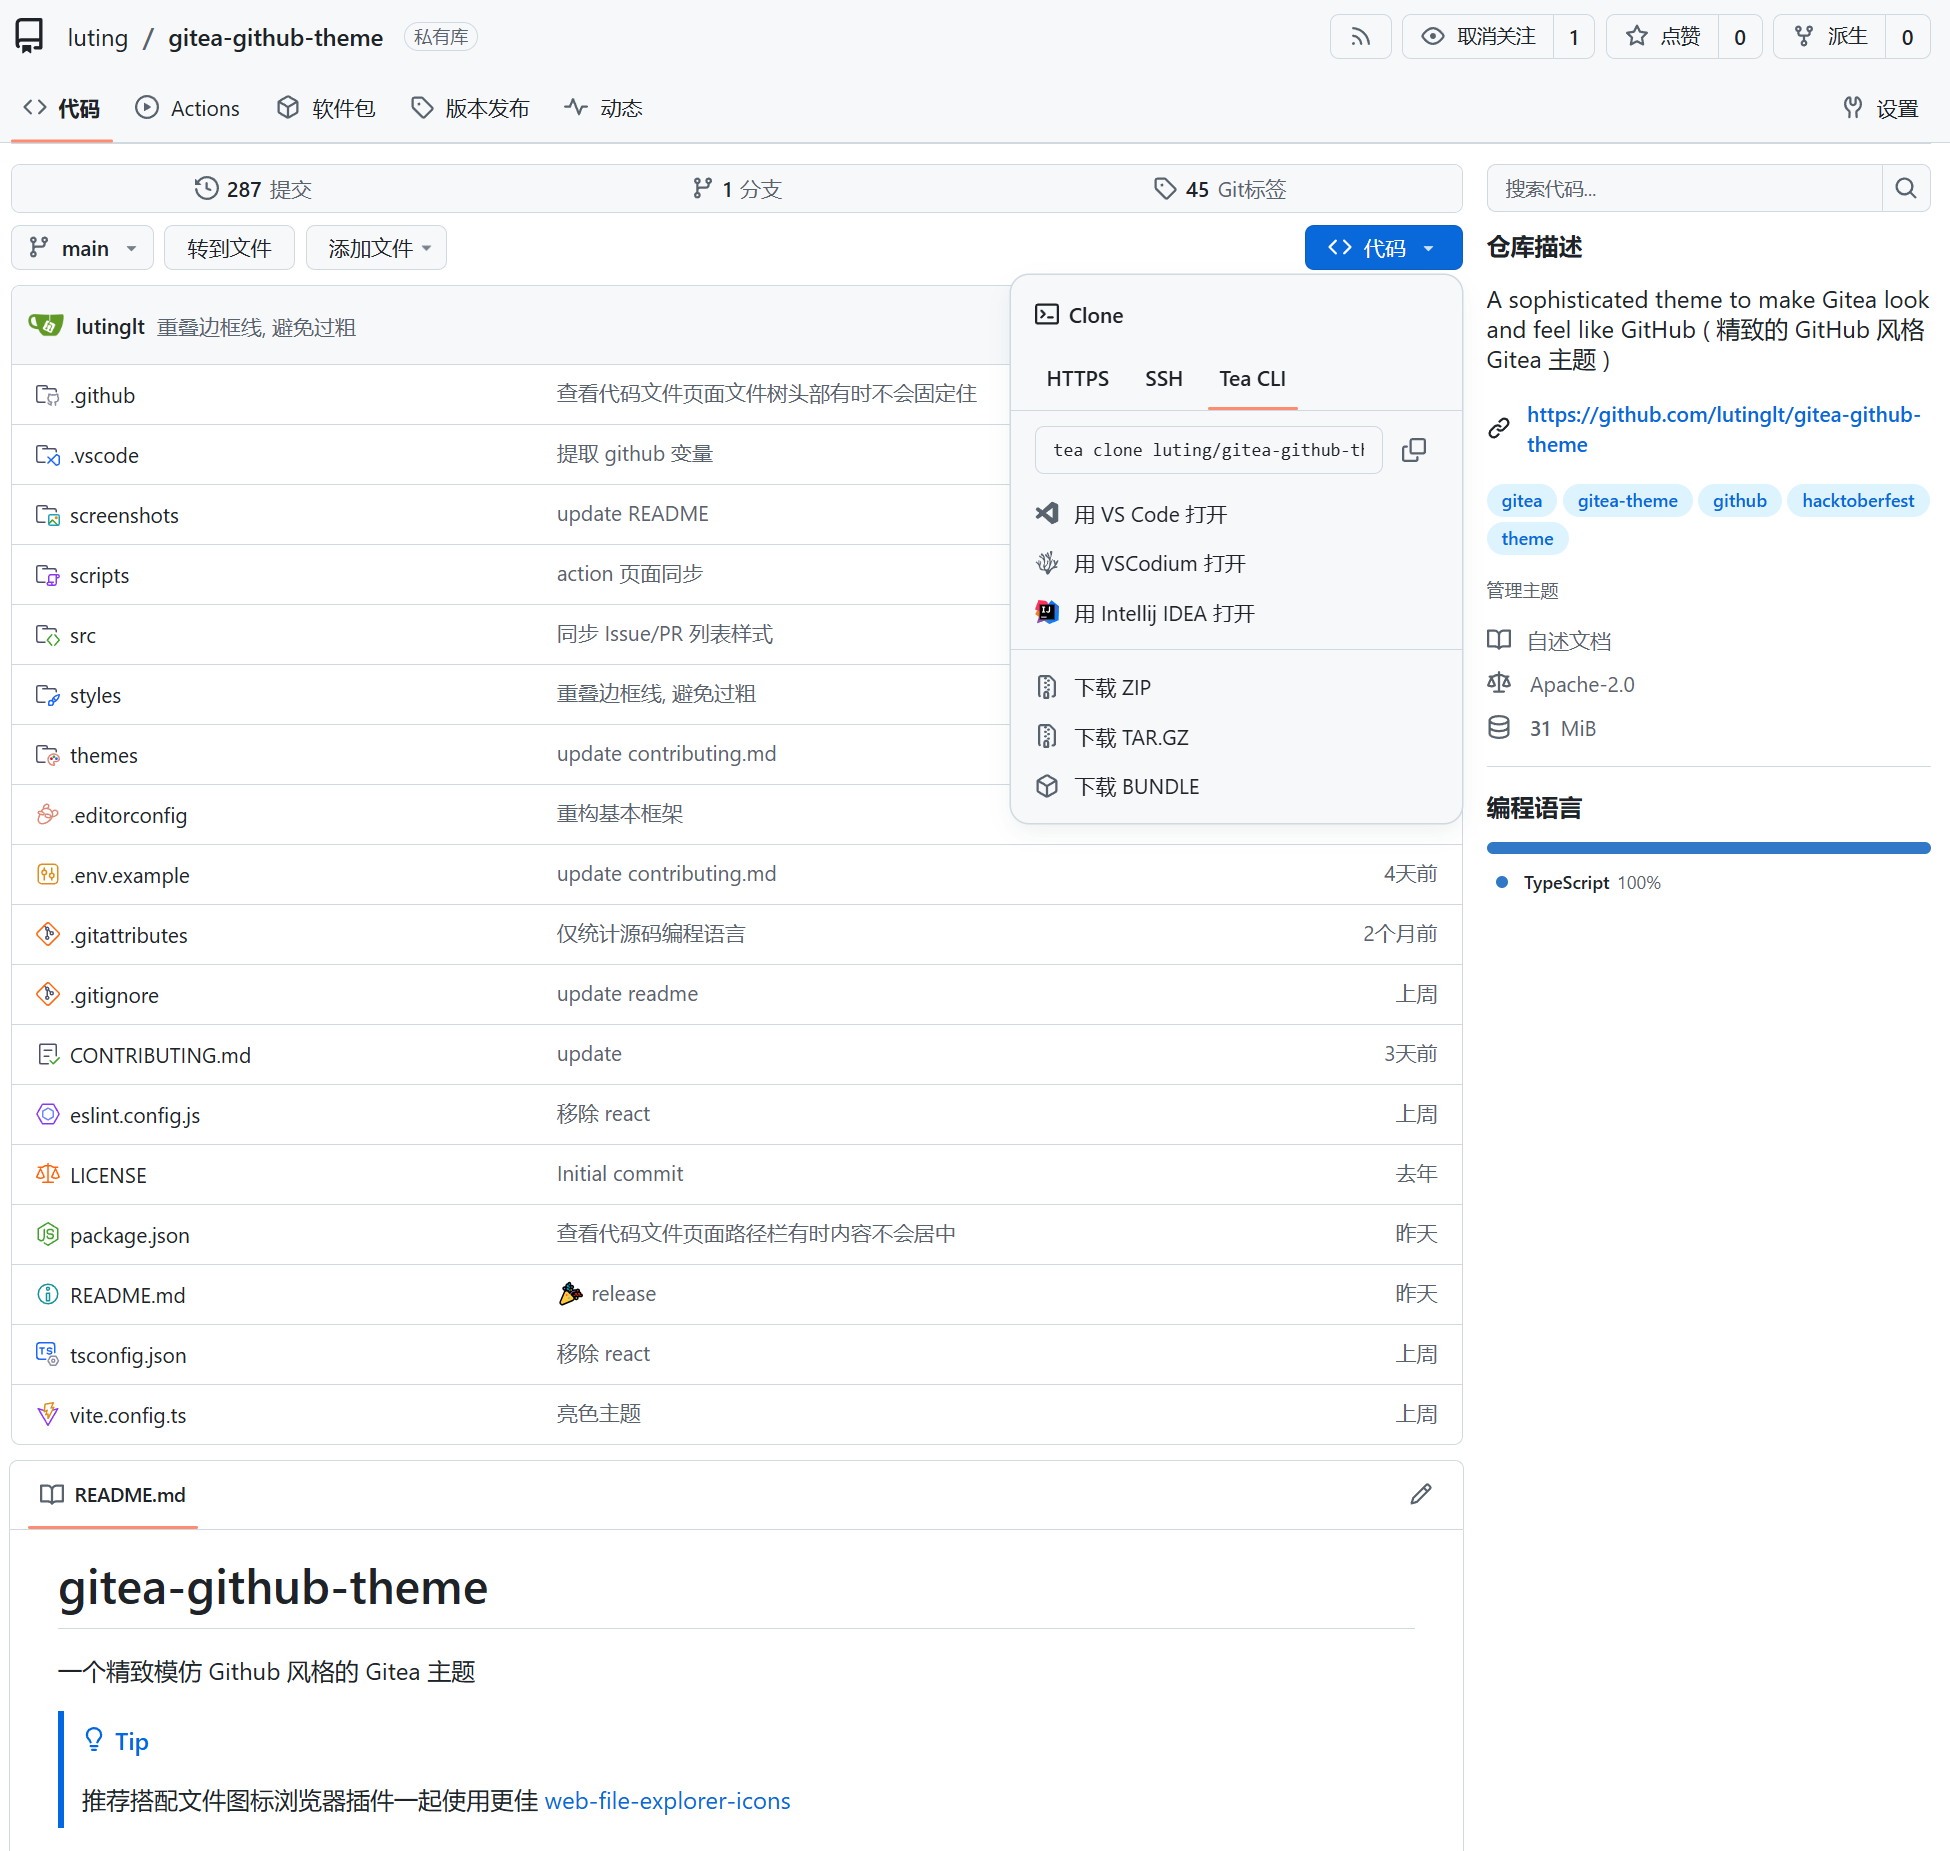
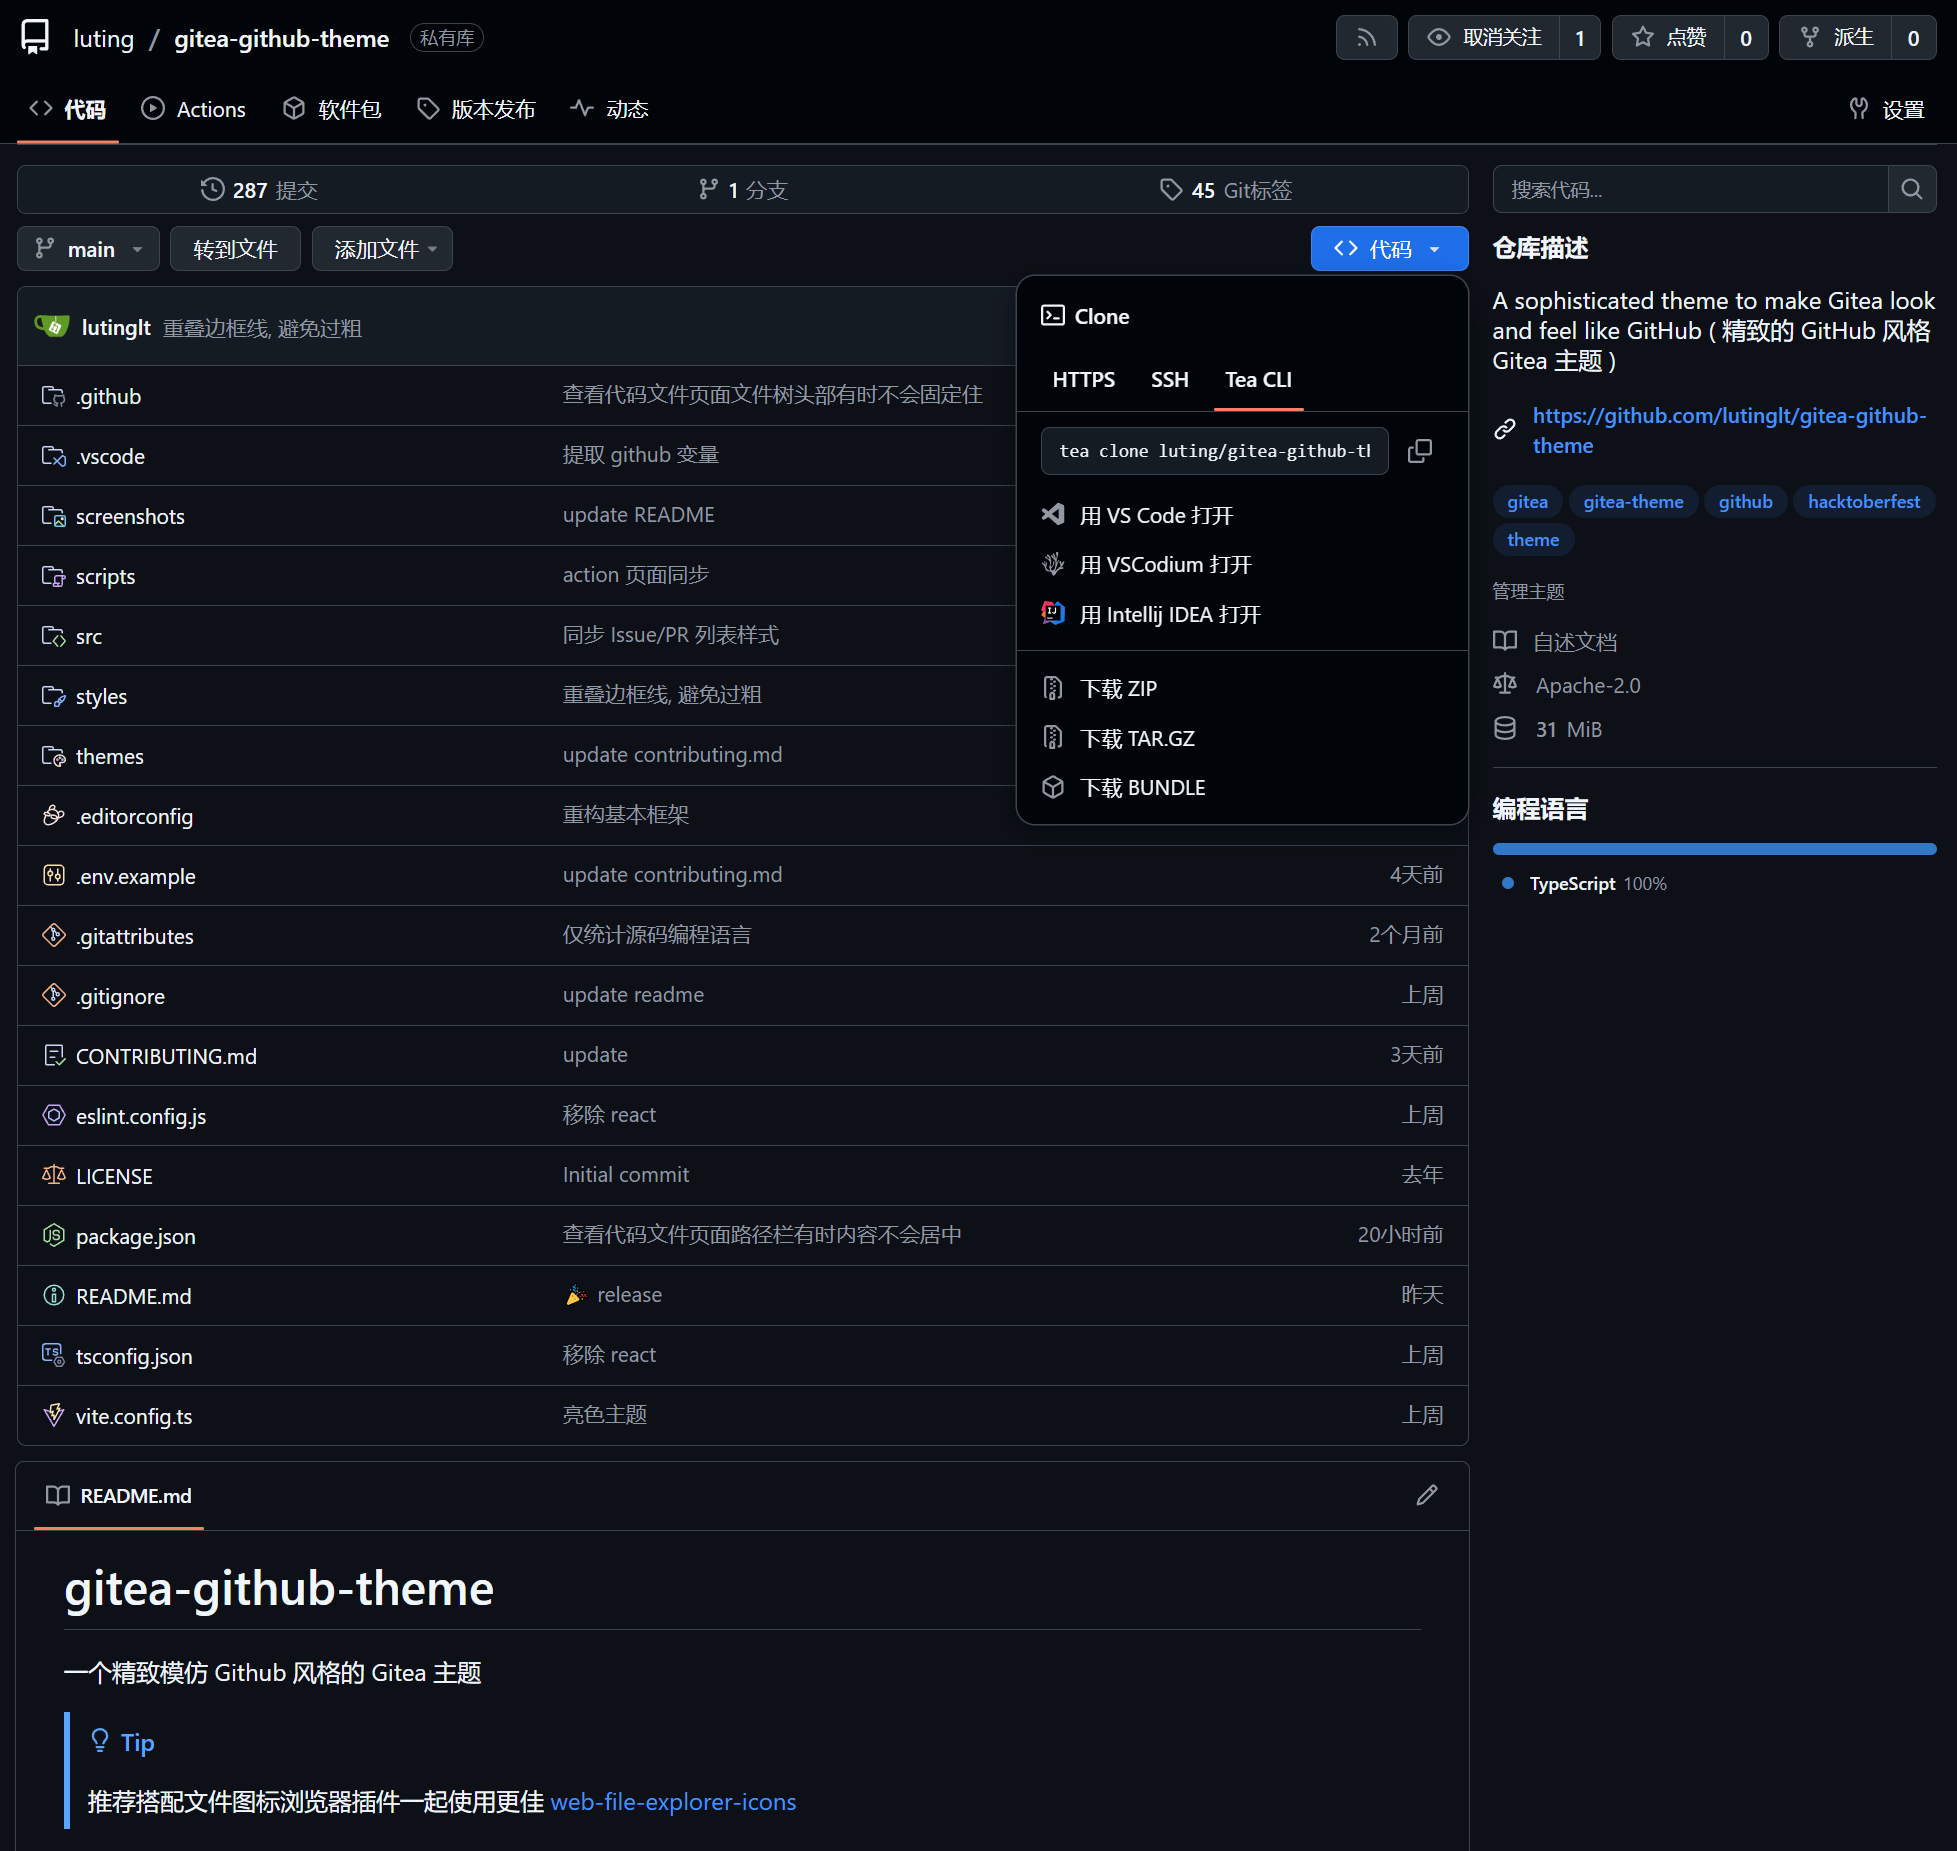
  • gitea-github-theme

    中文 | English

    Gitea GitHub Theme

    版本号说明

    主题版本号与 Gitea 版本号保持一致

    Gitea 版本号格式: 1.大版本号.小版本号

    Gitea 理论上小版本号变更不会修改前端布局, 所以主题的小版本号适用于所有 Gitea 大版本号相同的 Gitea 版本.

    比如: 主题版本 1.24.5 适用于 Gitea 版本 >=1.24.0 <1.25.0

    仅维护项目发布中的最新的 Gitea 版本, 其他旧版本主题不接受 Issue 和 PR.

    开发阶段的主题版本号格式: 1.大版本号.小版本号.时间戳

    安装

    1. 在发布页下载最新的 CSS 主题文件放入 gitea/public/assets/css 目录下
    2. 修改 gitea/conf/app.ini,并将 CSS 文件名去掉 theme- 的名称附加到 [ui] 下的 THEMES 末尾
    3. 重启 Gitea
    4. 在设置中查看主题

    Important

    自动颜色主题需要亮色和暗色的主题文件

    例: 主题文件名为 theme-github-dark.css,则添加 github-darkTHEMES 末尾

    gitea/conf/app.ini 例:

    [ui]
    THEMES = gitea-auto, gitea-light, gitea-dark, github-auto, github-light, github-dark, github-soft-dark

    详细请查看 Gitea 文档 Gitea docs

    截图

    基本主题

    THEMES = github-auto, github-light, github-dark, github-soft-dark
    Base

    theme-github-light.css

    theme-github-dark.css

    theme-github-soft-dark.css

    色盲主题 ( Beta )

    THEMES = github-colorblind-auto, github-colorblind-light, github-colorblind-dark
    THEMES = github-tritanopia-auto, github-tritanopia-light, github-tritanopia-dark
    Colorblind & Tritanopia (红绿色盲 & 蓝色盲)

    theme-github-colorblind-light.css & theme-github-tritanopia-light.css

    theme-github-colorblind-dark.css & theme-github-tritanopia-dark.css

    自定义 CSS 变量

    可以根据自己的偏好自定义主题的一部分样式

    使用方法

    在主题的 CSS 文件的头部或尾部添加以下代码

    :root {
      --custom-clone-menu-width: 150px;
      ...
    }

    Important

    请确保在 :root 选择器中添加自定义变量,否则无法生效

    变量之间用 ; 分隔

    建议自定义变量放在单独的文件中, 通过 shell 命令等方式追加到主题文件中

    CSS 变量

    变量名 描述 默认 Github 推荐 最小 最大
    –custom-clone-menu-width 克隆按钮的菜单宽度 Gitea 332px 200px 150px 400px
    –custom-explore-repolist-columns 探索页面的仓库列表列数 2 2 2
    –custom-explore-userlist-columns 探索页面的用户/组织列表列数 3 1 2/3
    –custom-user-repolist-columns 用户页面的仓库列表列数 2 2 1/2
    –custom-org-repolist-columns 组织页面的仓库列表列数 1 1 1/2
    –custom-org-userlist-columns 组织页面的用户列表列数 2 1 1/2

    使用开发中的主题

    也许你会想使用开发中的主题, 而不是发布的主题

    请确保你已经安装了 Node.js 环境, 推荐使用 Node.js 20 或以上版本

    git clone https://github.com/lutinglt/gitea-github-theme.git
    cd gitea-github-theme
    npm install
    npm run build

    编译完成后, 会在 dist 目录下生成主题文件, 你可以将主题文件放入 gitea/public/assets/css 目录下, 然后在 gitea/conf/app.ini 中添加主题名称到 THEMES 末尾

    贡献

    请查看 CONTRIBUTING

    Visit original content creator repository https://github.com/lutinglt/gitea-github-theme
  • carrot

    carrot is a C++ library for rendering expressive diagnostic messages.

    Features

    • Fully composable

      Have you ever wanted to aggregate diagnostic messages from different
      parts of your software into readable messages without ugly string manipulation
      hacks?

      carrot has you covered. The building blocks of a carrot message are fully
      composable and first-class citizens.

    • Semantic messages

      A certain representation of your message might not be suitable for all
      output devices. carrot gives you the ability to declare the intended
      semantic of certain parts of the message. Want to emphasise a word.
      Simply mark it as such.

      Fine-grained formating is still possible for those needing full control.

    FAQ

    • Why is the library named carrot?

      The name is a pun on the caret symbol ^ which is used frequently in
      diagnostic messages to mark locations of interest.

    • Does carrot support colored output?

      Yes. This is limited to devices supporting colored output, though.

    • Does carrot support dynamic content?

      Not yet. One of the main goals of carrot is that the generated
      messages can be displayed on as many output devices as possible.
      Since not all devices support dynamic output, care must be taken
      not to compromise this goal. Optional dynamic content for some devices
      with reasonable static fallbacks for others might be a nice feature for future
      releases.

    Visit original content creator repository
    https://github.com/qubusproject/carrot

  • fit-sport-modifier

    About

    Command line tool for modifying sport in .fit files.

    Usage of ./fit-sport-modifier [options] in.fit [out.fit]
    
    Show current sport fields:
    ./fit-sport-modifier in.fit
    
    Replace sport name:
    ./fit-sport-modifier -name "XC Skate Ski" ./in.fit ./out.fit
    
    Replace sport name and sub sport code:
    ./fit-sport-modifier -subsport 42 -name "XC Skate Ski" ./in.fit ./out.fit
    
    Options:
      -name string
            new sport name
      -sport int
            new sport code (default -1)
      -subsport int
            new sub sport code (default -1)

    Built on top of the github.com/muktihari/fit package.

    Available sport and sub sport values

    Taken from Garmin Fit SDK.

    Sports

    name value
    generic 0
    running 1
    cycling 2
    transition 3
    fitness_equipment 4
    swimming 5
    basketball 6
    soccer 7
    tennis 8
    american_football 9
    training 10
    walking 11
    cross_country_skiing 12
    alpine_skiing 13
    snowboarding 14
    rowing 15
    mountaineering 16
    hiking 17
    multisport 18
    paddling 19
    flying 20
    e_biking 21
    motorcycling 22
    boating 23
    driving 24
    golf 25
    hang_gliding 26
    horseback_riding 27
    hunting 28
    fishing 29
    inline_skating 30
    rock_climbing 31
    sailing 32
    ice_skating 33
    sky_diving 34
    snowshoeing 35
    snowmobiling 36
    stand_up_paddleboarding 37
    surfing 38
    wakeboarding 39
    water_skiing 40
    kayaking 41
    rafting 42
    windsurfing 43
    kitesurfing 44
    tactical 45
    jumpmaster 46
    boxing 47
    floor_climbing 48
    baseball 49
    diving 53
    hiit 62
    racket 64
    wheelchair_push_walk 65
    wheelchair_push_run 66
    meditation 67
    disc_golf 69
    cricket 71
    rugby 72
    hockey 73
    lacrosse 74
    volleyball 75
    water_tubing 76
    wakesurfing 77
    mixed_martial_arts 80
    snorkeling 82
    dance 83
    jump_rope 84

    Sub sports

    name value comment
    generic 0
    treadmill 1 Run/Fitness Equipment
    street 2 Run
    trail 3 Run
    track 4 Run
    spin 5 Cycling
    indoor_cycling 6 Cycling/Fitness Equipment
    road 7 Cycling
    mountain 8 Cycling
    downhill 9 Cycling
    recumbent 10 Cycling
    cyclocross 11 Cycling
    hand_cycling 12 Cycling
    track_cycling 13 Cycling
    indoor_rowing 14 Fitness Equipment
    elliptical 15 Fitness Equipment
    stair_climbing 16 Fitness Equipment
    lap_swimming 17 Swimming
    open_water 18 Swimming
    flexibility_training 19 Training
    strength_training 20 Training
    warm_up 21 Tennis
    match 22 Tennis
    exercise 23 Tennis
    challenge 24
    indoor_skiing 25 Fitness Equipment
    cardio_training 26 Training
    indoor_walking 27 Walking/Fitness Equipment
    e_bike_fitness 28 E-Biking
    bmx 29 Cycling
    casual_walking 30 Walking
    speed_walking 31 Walking
    bike_to_run_transition 32 Transition
    run_to_bike_transition 33 Transition
    swim_to_bike_transition 34 Transition
    atv 35 Motorcycling
    motocross 36 Motorcycling
    backcountry 37 Alpine Skiing/Snowboarding
    resort 38 Alpine Skiing/Snowboarding
    rc_drone 39 Flying
    wingsuit 40 Flying
    whitewater 41 Kayaking/Rafting
    skate_skiing 42 Cross Country Skiing
    yoga 43 Training
    pilates 44 Fitness Equipment
    indoor_running 45 Run
    gravel_cycling 46 Cycling
    e_bike_mountain 47 Cycling
    commuting 48 Cycling
    mixed_surface 49 Cycling
    navigate 50
    track_me 51
    map 52
    single_gas_diving 53 Diving
    multi_gas_diving 54 Diving
    gauge_diving 55 Diving
    apnea_diving 56 Diving
    apnea_hunting 57 Diving
    virtual_activity 58
    obstacle 59 Used for events where participants run,
    breathing 62
    sail_race 65 Sailing
    ultra 67 Ultramarathon
    indoor_climbing 68 Climbing
    bouldering 69 Climbing
    hiit 70 High Intensity Interval Training
    amrap 73 HIIT
    emom 74 HIIT
    tabata 75 HIIT
    pickleball 84 Racket
    padel 85 Racket
    indoor_wheelchair_walk 86
    indoor_wheelchair_run 87
    indoor_hand_cycling 88
    squash 94
    badminton 95
    racquetball 96
    table_tennis 97
    fly_canopy 110 Flying
    fly_paraglide 111 Flying
    fly_paramotor 112 Flying
    fly_pressurized 113 Flying
    fly_navigate 114 Flying
    fly_timer 115 Flying
    fly_altimeter 116 Flying
    fly_wx 117 Flying
    fly_vfr 118 Flying
    fly_ifr 119 Flying


    Visit original content creator repository
    https://github.com/IvanSafonov/fit-sport-modifier

  • serverless-appsync-lambda-httpresource-example

    serverless-appsync-lambda-httpresource-example CircleCI

    This sample repository shows how to setup AWS AppSync that exposes two GraphQL queries:

    • getWeatherWithHTTPResource which gets weather information from https://wttr.in using a HTTP Resource
    • getWeatherWithLambda which gets weather information from https://wtter.in using a Lambda which then executes the request

    This repository also shows different ways of testing a AWS AppSync:

    • At unit level for the lambda handler defined
    • At the mapping template level, by testing directly the VTL defined maps with @conduitvc/appsync-emulator-serverless/vtl
    • At AppSync level using the helper createAppSync available in @conduitvc/appsync-emulator-serverless/jest

    Notes:

    • Created dynamodb-local.js to start DynamoDB locally before we run the tests so the tests don’t timeout since DynamoDB takes a while to start for the first time
    • Created jest-utils to provide utils for testing the VTL files, loadVTL which will load the VTL file and renderVTL which will try to render the VTL provided with the function vtl available ij @conduitvc/appsync-emulator-serverless/vtl

    Tech stack

    Serverless

    https://serverless.com/

    The Serverless Framework is an open-source CLI for building and deploying serverless applications. With over 6 million deployments handled, the Serverless Framework is the tool developers trust to build cloud applications.

    Build Setup

    Using Docker

    # Build Dockerfile
    $ yarn docker:build
    
    # graphql will run on http://localhost:62222/graphql
    $ yarn docker:dev
    
    # Running tests
    $ yarn docker:test
    
    # Running tests with watch
    $ yarn docker:test:dev

    Running locally

    # install dependencies
    $ yarn
    
    # graphql will run on http://localhost:62222/graphql
    $ yarn run dev

    Testing

    curl 'http://localhost:62222/graphql' -H 'Accept-Encoding: gzip, deflate, br' -H 'Content-Type: application/json' -H 'Accept: application/json' -H 'Connection: keep-alive' -H 'DNT: 1' -H 'Origin: http://localhost:3001' -H 'x-api-key: ABC123' --data-binary '{"query":"{ getWeatherWithHTTPResource }"}' --compressed
    curl 'http://localhost:62222/graphql' -H 'Accept-Encoding: gzip, deflate, br' -H 'Content-Type: application/json' -H 'Accept: application/json' -H 'Connection: keep-alive' -H 'DNT: 1' -H 'Origin: http://localhost:3001' -H 'x-api-key: ABC123' --data-binary '{"query":"{ getWeatherWithLambda }"}' --compressed
    Visit original content creator repository https://github.com/davidpicarra/serverless-appsync-lambda-httpresource-example
  • scripts

    Scripts

    Simple and short programs to solve small problems

    A collection of small programs written in scripting languages to perform simple tasks.

    Languages used

    Perl

    Perl Perl is a language for getting your job done. Of course, if your job is programming, you can get your job done with any “com- plete” computer language, theoretically speaking. But we know from experience that computer languages differ not so much in what they make possible, but in what they make easy. At one extreme, the so-called “fourth generation languages” make it easy to do some things, but nearly impossible to do other things. At the other extreme, so-called “industrial-strength” languages make it equally difficult to do almost everything. Perl is different. In a nutshell, Perl is designed to make the easy jobs easy, without making the hard jobs impossible.

    Raku

    Camelia, the Raku Bug Hi, my name is Camelia. I’m the spokesbug for Raku. Raku intends to carry forward the high ideals of the Perl community. Raku has been developed by a team of dedicated and enthusiastic volunteers, and continues to be developed. You can help too. The only requirement is that you know how to be nice to all kinds of people (and butterflies). Go to #raku and someone will be glad to help you get started.

    Awk

    Computer users spend a lot of time doing simple, mechanical data manipula- tion – changing the format of data, checking its validity, finding items with some property, adding up numbers, printing reports, and the like. All of these jobs ought to be mechanized, but it’s a real nuisance to have to write a special- purpose program in a standard language like C each time such a task comes up. Awk is a programming language that makes it possible to handle such tasks with very short programs, often only one or two lines long. An awk program is a sequence of patterns and actions that tell what to look for in the input data and what to do when it’s found. Awk searches a set of files for lines matched by any of the patterns; when a matching line is found, the corresponding action is performed. A pattern can select lines by combinations of regular expressions and comparison operations on strings, numbers, fields, variables, and array ele- ments. Actions may perform arbitrary processing on selected lines; the action language looks like C but there are no declarations, and strings and numbers are built-in data types.

    Visit original content creator repository https://github.com/DaviNakamuraCardoso/scripts
  • dataset-uta4-rates

    UTA4: Rates Dataset

    License: AGPL v3 Last commit OpenCollective OpenCollective Gitter Twitter

    Several datasets are fostering innovation in higher-level functions for everyone, everywhere. By providing this repository, we hope to encourage the research community to focus on hard problems. In this repository, we present our severity rates (BIRADS) of clinicians while diagnosing several patients from our User Tests and Analysis 4 (UTA4) study. Here, we provide a dataset for the measurements of severity rates (BIRADS) concerning the patient diagnostic. Work and results are published on a top Human-Computer Interaction (HCI) conference named AVI 2020 (page). Results were analyzed and interpreted from our Statistical Analysis charts. The user tests were made in clinical institutions, where clinicians diagnose several patients for a Single-Modality vs Multi-Modality comparison. For example, in these tests, we used both prototype-single-modality and prototype-multi-modality repositories for the comparison. On the same hand, the hereby dataset represents the pieces of information of both BreastScreening and MIDA projects. These projects are research projects that deal with the use of a recently proposed technique in literature: Deep Convolutional Neural Networks (CNNs). From a developed User Interface (UI) and framework, these deep networks will incorporate several datasets in different modes. For more information about the available datasets please follow the Datasets page on the Wiki of the meta information repository. Last but not least, you can find further information on the Wiki in this repository. We also have several demos to see in our YouTube Channel, please follow us.

    Citing

    We kindly ask scientific works and studies that make use of the repository to cite it in their associated publications. Similarly, we ask open-source and closed-source works that make use of the repository to warn us about this use.

    You can cite our work using the following BibTeX entry:

    @inproceedings{10.1145/3399715.3399744,
    author = {Calisto, Francisco Maria and Nunes, Nuno and Nascimento, Jacinto C.},
    title = {BreastScreening: On the Use of Multi-Modality in Medical Imaging Diagnosis},
    year = {2020},
    isbn = {9781450375351},
    publisher = {Association for Computing Machinery},
    address = {New York, NY, USA},
    url = {https://doi.org/10.1145/3399715.3399744},
    doi = {10.1145/3399715.3399744},
    abstract = {This paper describes the field research, design and comparative deployment of a multimodal medical imaging user interface for breast screening. The main contributions described here are threefold: 1) The design of an advanced visual interface for multimodal diagnosis of breast cancer (BreastScreening); 2) Insights from the field comparison of Single-Modality vs Multi-Modality screening of breast cancer diagnosis with 31 clinicians and 566 images; and 3) The visualization of the two main types of breast lesions in the following image modalities: (i) MammoGraphy (MG) in both Craniocaudal (CC) and Mediolateral oblique (MLO) views; (ii) UltraSound (US); and (iii) Magnetic Resonance Imaging (MRI). We summarize our work with recommendations from the radiologists for guiding the future design of medical imaging interfaces.},
    booktitle = {Proceedings of the International Conference on Advanced Visual Interfaces},
    articleno = {49},
    numpages = {5},
    keywords = {user-centered design, multimodality, medical imaging, human-computer interaction, healthcare systems, breast cancer, annotations},
    location = {Salerno, Italy},
    series = {AVI '20}
    }
    

    Table of contents

    Prerequisites

    The following list is showing the required dependencies for this project to run locally:

    • Git or any other Git or GitHub version control tool
    • Python (3.5 or newer)

    Here are some tutorials and documentation, if needed, to feel more comfortable about using and playing around with this repository:

    Usage

    Usage follow the instructions here to setup the current repository and extract the present data. To understand how the hereby repository is used for, read the following steps.

    Installation

    At this point, the only way to install this repository is manual. Eventually, this will be accessible through pip or any other package manager, as mentioned on the roadmap.

    Nonetheless, this kind of installation is as simple as cloning this repository. Virtually all Git and GitHub version control tools are capable of doing that. Through the console, we can use the command below, but other ways are also fine.

    git clone https://github.com/MIMBCD-UI/dataset-uta4-rates.git

    Optionally, the module/directory can be installed into the designated Python interpreter by moving it into the site-packages directory at the respective Python directory.

    Demonstration

    Please, feel free to try out our demo. It is a script called demo.py at the src/ directory. It can be used as follows:

    python src/demo.py

    Just keep in mind this is just a demo, so it does nothing more than downloading data to an arbitrary destination directory if the directory does not exist or does not have any content. Also, we did our best to make the demo as user-friendly as possible, so, above everything else, have fun! 😁

    Roadmap

    CII Best Practices

    We need to follow the repository goal, by addressing the thereby information. Therefore, it is of chief importance to scale this solution supported by the repository. The repository solution follows the best practices, achieving the Core Infrastructure Initiative (CII) specifications.

    Besides that, one of our goals involves creating a configuration file to automatically test and publish our code to pip or any other package manager. It will be most likely prepared for the GitHub Actions. Other goals may be written here in the future.

    Contributing

    This project exists thanks to all the people who contribute. We welcome everyone who wants to help us improve this downloader. As follows, we present some suggestions.

    Issuer

    Either as something that seems missing or any need for support, just open a new issue. Regardless of being a simple request or a fully-structured feature, we will do our best to understand them and, eventually, solve them.

    Developer

    We like to develop, but we also like collaboration. You could ask us to add some features… Or you could want to do it yourself and fork this repository. Maybe even do some side-project of your own. If the latter ones, please let us share some insights about what we currently have.

    Information

    The current information will summarize important items of this repository. In this section, we address all fundamental items that were crucial to the current information.

    Related Repositories

    The following list, represents the set of related repositories for the presented one:

    Dataset Resources

    To publish our datasets we used a well known platform called Kaggle. To access our project’s Profile Page just follow the link. For the purpose, three main resources uta4-singlemodality-vs-multimodality-nasatlx, uta4-sm-vs-mm-sheets and uta4-sm-vs-mm-sheets-nameless are published in this platform. Moreover, the Single-Modality vs Multi-Modality is available in our MIMBCD-UI Project page on data.world. Last but not least, datasets are also published at figshare and OpenML platforms.

    License & Copyright

    Copyright © 2020 Instituto Superior Técnico

    Creative Commons License

    The dataset-uta4-rates repository is distributed under the terms of GNU AGPLv3 license and CC-BY-SA-4.0 copyright. Permissions of this license are conditioned on making available complete elements from this repository of licensed works and modifications, which include larger works using a licensed work, under the same license. Copyright and license notices must be preserved.

    Team

    Our team brings everything together sharing ideas and the same purpose, developing even better work. In this section, we will nominate the full list of important people for this repository, as well as respective links.

    Authors

    Promoters

    • Hugo Lencastre
    • Nádia Mourão
    • Bruno Dias
    • Bruno Oliveira
    • Luís Ribeiro Gomes
    • Carlos Santiago

    Acknowledgements

    This work was partially supported by national funds through FCT and IST through the UID/EEA/50009/2013 project, BL89/2017-IST-ID grant. We thank Dr. Clara Aleluia and her radiology team of HFF for valuable insights and helping using the Assistant on their daily basis. From IPO-Lisboa, we would like to thank the medical imaging teams of Dr. José Carlos Marques and Dr. José Venâncio. From IPO-Coimbra, we would like to thank the radiology department director and the all team of Dr. Idílio Gomes. Also, we would like to provide our acknowledgments to Dr. Emília Vieira and Dr. Cátia Pedro from Hospital Santa Maria. Furthermore, we want to thank all team from the radiology department of HB for participation. Last but not least, a great thanks to Dr. Cristina Ribeiro da Fonseca, who among others is giving us crucial information for the BreastScreening project.

    Supporting

    Our organization is a non-profit organization. However, we have many needs across our activity. From infrastructure to service needs, we need some time and contribution, as well as help, to support our team and projects.

    Contributors

    This project exists thanks to all the people who contribute. [Contribute].

    Backers

    Thank you to all our backers! 🙏 [Become a backer]

    Sponsors

    Support this project by becoming a sponsor. Your logo will show up here with a link to your website. [Become a sponsor]


    fct fccn ulisboa ist hff
    Departments
    dei dei
    Laboratories
    sipg isr larsys iti inesc-id
    Domain
    eu pt
    Visit original content creator repository https://github.com/MIMBCD-UI/dataset-uta4-rates