Blog

  • anmoku

    🌸 Anmoku 安黙

    A peaceful and fully typed MyAnimeList / Jikan Python API wrapper with caching and proper rate limiting.

    Pypi Version Python Versions Pypi Downloads


    Note

    Anmoku is currently a work in progress so the features below may not be complete yet or experimental.

    Features ✨

    • Rate limiting 🎀 (with actual waiting).
    • Supports caching. ⚡
    • Fully type hinted. 🌌 yes you heard me correctly

    Examples ⚗️

    Anmoku is probably the simplest Jikan API wrapper you’ll ever use. All you need is the client and the resource. 🌊

    from anmoku import Anmoku, AnimeCharacters
    
    client = Anmoku(debug = True)
    
    anime_characters = client.get(AnimeCharacters, id = 28851) # ID for the anime film "A Silent Voice".
    
    for character in anime_characters:
        print(f"{character.name} ({character.url})")
    
    client.close()

    We also have an async client:

    import asyncio
    from anmoku import AsyncAnmoku, AnimeCharacters
    
    async def main():
    
        client = AsyncAnmoku(debug = True)
    
        anime_characters = await client.get(AnimeCharacters, id = 28851) # ID for the anime film "A Silent Voice".
    
        for character in anime_characters:
            print(f"{character.name} ({character.url})")
    
        await client.close()
    
    asyncio.run(main())

    Output:

    [DEBUG] (anmoku) - [AsyncAnmoku] GET --> https://api.jikan.moe/v4/anime/28851/characters
    Ishida, Shouya (https://myanimelist.net/character/80491/Shouya_Ishida)
    Nishimiya, Shouko (https://myanimelist.net/character/80243/Shouko_Nishimiya)
    Headteacher (https://myanimelist.net/character/214351/Headteacher)
    Hirose, Keisuke (https://myanimelist.net/character/97569/Keisuke_Hirose)
    Ishida, Maria (https://myanimelist.net/character/97943/Maria_Ishida)
    Ishida, Sister (https://myanimelist.net/character/118723/Sister_Ishida)
    # ... more characters below but I cut them off for the convenience of this readme

    Searching! 🤩

    Here are some searching examples you can try:

    from anmoku import Anmoku, Character
    
    client = Anmoku(debug = True)
    
    characters = client.search(Character, "anya forger")
    
    for character in characters:
        print(f"{character.name} ({character.image.url})")
    
    client.close()

    Merge that with gradio and you have a GUI.

    import gradio # pip install gradio
    from anmoku import Anime, Anmoku, RatelimitError
    client = Anmoku(debug = True)
    def search_anime(query: str):
    anime_list = []
    try:
    anime_list = client.search(Anime, query)
    except RatelimitError as e: # NOTE: This is here because rate limiting hasn’t been implemented yet in this version.
    raise gradio.Error(e.message)
    return [(x.image.get_image(), str(x.name)) for x in anime_list]
    demo = gradio.Interface(
    search_anime,
    inputs = “text”,
    outputs = gradio.Gallery(height = 600)
    )
    if __name__ == “__main__”:
    demo.launch(show_api = False)

    gradio_gui.mp4

    Type hinting support! 🌌

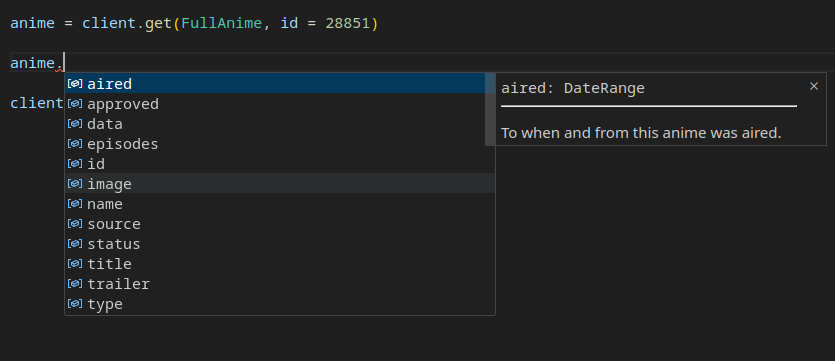
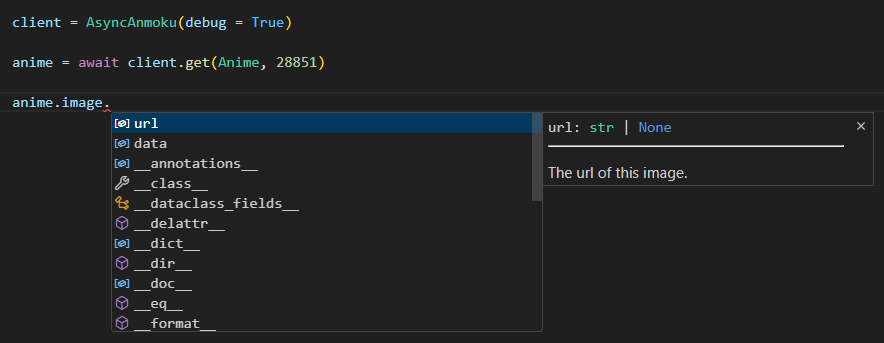
    API responses in our library are strongly typed.

    On top of that, we even provide class interfaces if you wish for stability and ease of use.


    Python’s future Jikan API wrapper.

    Visit original content creator repository https://github.com/THEGOLDENPRO/anmoku
  • Simple-Kotlin-Project

    Navigation Drawer

    This repository contains the source code for an Android application demonstrating the implementation of a Navigation Drawer integrated with API calls and a simple intent mechanism using the Kotlin language within the Android Studio environment. This project showcases how to create a user-friendly and intuitive navigation experience with dynamic content.


    Purpose of This Repository

    To showcase the integration of a Navigation Drawer with API calls and a simple intent mechanism to create a flexible and modular user interface within an Android application developed with Kotlin.


    Demonstration

    Below is a demonstration of the main function of the Navigation Drawer App:

    // filepath: /home/guan/Documents/Code/Simple-Kotlin-Project/app/src/main/java/com/example/navigationdrawer/MainActivity.kt
    package com.example.navigationdrawer
    
    import android.content.Intent
    import android.os.Bundle
    import androidx.appcompat.app.AppCompatActivity
    import androidx.drawerlayout.widget.DrawerLayout
    import com.google.android.material.navigation.NavigationView
    
    class MainActivity : AppCompatActivity() {
    
        override fun onCreate(savedInstanceState: Bundle?) {
            super.onCreate(savedInstanceState)
            setContentView(R.layout.activity_main)
    
            val drawerLayout: DrawerLayout = findViewById(R.id.drawer_layout)
            val navView: NavigationView = findViewById(R.id.nav_view)
    
            // Setup the navigation drawer
            navView.setNavigationItemSelectedListener { menuItem ->
                // Handle navigation view item clicks here.
                menuItem.isChecked = true
                drawerLayout.closeDrawers()
    
                // Simple intent mechanism
                when (menuItem.itemId) {
                    R.id.nav_api -> {
                        val intent = Intent(this, ApiActivity::class.java)
                        startActivity(intent)
                    }
                    // Add more cases for other menu items
                }
                true
            }
        }
    }


    Releases

    You can find the latest releases here.


    Features

    • Navigation Drawer with multiple menu items
    • Fragment integration for modular UI
    • API integration for dynamic content
    • Simple intent mechanism for navigation
    • Smooth and intuitive navigation
    • Responsive design for various screen sizes


    Technologies Used

    • Kotlin
    • Android Studio
    • XML for layout design
    • Retrofit for API calls


    Project Setup

    1. Ensure you have Android Studio installed on your machine.
    2. Clone this Repository
    git clone https://github.com/n4vrl0s3/Simple-Kotlin-Project.git
    1. Open the project in Android Studio
    2. Build the project to download dependencies


    Steps to Run

    1. Open the project in Android Studio
    2. Build the project to download dependencies
    3. Run the project on an emulator or physical device


    License

    This project is licensed under the Apache-2.0 License. See the LICENSE file for details.


    Visit original content creator repository https://github.com/n4vrl0s3/Simple-Kotlin-Project
  • dokku-base

    dokku-base

    Base Dokku setup on different hosting providers, with Terraform and Ansible.

    Prerequisites

    This project works on the assumption that you already have:

    The following tools must be installed on your local machine:

    All commands will be executed in a virtual environment created with pipenv. This workflow has been tested on macOS v13, some tools like whoami, cat, curl are already provide by OS.

    Prepare local environment

    Steps

    1. Copy sample.env to .env and update GCP_PROJECT_ID and CLOUDFLARE_API_TOKEN variables.

      cp sample.env .env
    2. Create and active the virtual environment.

      pipenv install
      pipenv shell
    3. (optional) Configure gcloud and log in, if you have not already done it.

      gcloud config configurations create ${GCP_PROJECT_ID}
      gcloud config set project ${GCP_PROJECT_ID}
      gcloud auth login
      gcloud auth application-default login
    4. (optional) Install pre-commit hooks, only for local development.

      pre-commit install
    5. Change path to configuration folder and install Ansible dependencies.

      ansible-galaxy role install -r requirements.yml --force
      ansible-galaxy collection install -r requirements.yml --force

    Hosting providers

    Hetzner

    Steps

    1. Update HCLOUD_TOKEN in .env file.

      # Reactivate the virtual environment to load new environment variables
      exit
      pipenv shell
    2. Change path to root folder and set Terraform variables in .env file.

      Check infrastructure/modules/hetzner/README.md for examples and available variables.

      # Use current OS user for SSH authentication
      echo -e "\nTF_VAR_ssh_user={\"user\":\"$(whoami)\",\"keys\":[\"$(cat ~/.ssh/id_rsa.pub)\"]}" >> .env
      
      # Allow SSH connections only from current public IP address
      echo -e "\nTF_VAR_ssh_allow_ipv4=[\"$(curl -s https://ifconfig.me)/32\"]" >> .env
      
      # Reactivate the virtual environment to load new environment variables
      exit
      pipenv shell
    3. Change path to infrastructure/environments/hetzner/server folder and create the infrastructure.

      terragrunt apply
      
      # Add DOKKU_HOST environment variable and reactivate pipenv shell to pick new environment variables
      echo -e "\nDOKKU_HOST=$(terragrunt output -json server_ip | jq -r)" >> ../../../../.env
      exit
      pipenv shell
    4. Change path to configuration folder and install Dokku. The Ansible playbook will also apply the DevSec Hardening Framework Baselines for SSH and OS.

      # Check if Ansible can connect to server
      ansible-inventory --inventory hcloud.yml --graph
      ansible all --inventory hcloud.yml --module-name ping --limit label_project_dokku
      
      # Execute Ansible playbook for Hetzner cloud
      ansible-playbook playbooks/hetzner.yml --inventory hcloud.yml --limit label_project_dokku

    Smoke test

    This test works on the assumption that you want to have an application accessible under a subdomain, for example my-app.example.tld.

    Replace my-app.example.tld with the FQDN for your application.

    Steps

    1. Change path to root folder and update .env file.

      # Add application subdomains and reactivate pipenv shell to pick new environment variables
      echo -e "\nTF_VAR_dokku_apps_domains=[\"my-app.example.tld\"]" >> .env
      exit
      pipenv shell
    2. Change path to infrastructure/environments/hetzner/server folder and update Cloudflare DNS.

      terragrunt apply
    3. Temporarily set Cloudflare SSL/TLS encryption mode to Flexible for example.tld.

    4. Open my-app.example.tld in browser.

    Next

    Follow Dokku docs to deploy an application. Use Cloudflare Origin CA certificate for SSL/TLS configuration.

    Visit original content creator repository
    https://github.com/altcatalin/dokku-base

  • datetime

    DateTime class

    Quick and small C++ date and time class

    Known C++ <ctime> date and time structures have disappointing limitations which have driven me to make my own class.

    For instance, time_t is not crossplatform-consistant and can’t keep dates before 1970. Struct tm keeps dates from 1900 only.

    Modern C++ versions suggest more appropriate ways to track date and time. But what to do with, say, Visual Studio 2010? There are known libraries dealing with the subject but linking huge dependencies just for dates is not a stright-forward way.

    DateTime class is quick and small: it contains only one long long field which keeps number of milliseconds from the start of January the first of the first year (by Gregorian calendar). Instances may be initialized from a standard string, time_t or struct tm. Likewise it may be explicitly converted back to those data types.

    You can apply some arythmetics to DateTime: increase or decrease dates by a certain amount of days, months, years, compare DateTime values etc. DateTime class is very helpful when you are working with relational databases: SQLite, PostgreSQL, MS SQL…

    Just a simple example:

    DateTime now;
    now.setNow();
    
    now.incMonth(20);
    cout << now.formatDateTime() << endl;
    
    now.fromUTC();
    cout << now.formatDateTime() << endl;
    
    now.set("2017-01-28 22:12:50");
    

    Some disclaimer

    Timezone is a tricky business and I can’t say how fromUTC() and toUTC() will behave on different platforms. In detecting timezone gmtime_s() is used which is platform specific (I use Visual Studio 2010 Express as mentioned above). But you can easily fix that.

    Enjoy!

    Alexander Belkov

    Visit original content creator repository
    https://github.com/sundersb/datetime

  • BM-to-PNG-Converter

    DEPRECATED

    Archived in favor of BMtoBMP, which converts BM/PAL files to bitmap images instead of PNGs.

    This was done primarily to remove the Raylib dependency. At the time I wrote this program, I justified using Raylib as a crutch because the project I created this tool for was going to be using it already. Almost immediately after completing this project though, I regretted the idea. Only just got some time to actually work on this.

    The remainder of the old README.md will remain as-is for archival purposes. Note that the Additional info on how BM and PAL files work section is rather inaccurate at this point. I learned a lot more about the file format as I worked on this new project. Please view BMtoBMP using the link above if you’re looking for more information on these files.

    BM-to-PNG-Converter

    A header-only library and command-line executable which converts BM files to images (PNGs) using PAL files.

    Installing

    Navigate to the releases page and download the latest zip file.

    Once downloaded, extract the zip file wherever you’d like and you’re done!

    See usage below for more details on running the application.

    Building from Source (Linux/macOS/Unix)

    Install dependencies:

    # BM-to-PNG dependencies:
    gcc make cmake mingw32-gcc clang-tools-extra
    
    # Raylib (v5.0) dependencies:
    alsa-lib-devel mesa-libGL-devel libX11-devel libXrandr-devel libXi-devel libXcursor-devel libXinerama-devel libatomic
    

    Clone the project:

    $ git clone https://github.com/IcePanorama/BM-to-PNG-Converter.git
    # ... or, alternatively ...
    $ git clone git@github.com:IcePanorama/BM-to-PNG-Converter.git

    Install:

    $ cd BM-to-PNG-Converter && mkdir build && cd build && cmake .. && make release && cd ..

    Usage

    BMtoPNG_x86_64.exe path\to\file.BM path\to\file.PAL # 64-bit Windows Systems
    BMtoPNG_i686.exe path\to\file.BM path\to\file.PAL # 32-bit Windows Systems
    ./BMtoPNG path/to/file.BM path/to/file.PAL # Linux/macOS/Unix Systems
    

    Using the library

    The only non-static function accessible through the header is convert_bm_file_to_png (). For input, it takes in two FILE pointers, both of which the caller is responsible for initializing and closing. The first should be a pointer to some BM file, while the second should be a pointer to some PAL file. The caller is also responsible for insuring that these are, in fact, BM and PAL files. Lastly, the final piece of input should be the desired output filename.

    N/B: The function automatically adds the file extension to the end of output_filename.

    Additional info on how BM and PAL files work:

    BM

    For whatever reason, these files are organized in a weird fashion. The first 8 bytes of a given file correspond to its width and height (in little endian), followed by 4 bytes of zeros. What follows after this is an array of bytes where each byte corresponds to a pixel in the output image. The strange part is that this array isn’t organized like you might think. Rather that starting from the upper left hand, it starts from the bottom left, I believe. I found this out just through trial and error, but perhaps someone more knowledgable than me knows why. My best guess is that it’s maybe data protection? idk

    PAL

    These files are very simple compared to the BM files. The “index” you get from the BM file just tells you where to jump to in the PAL file and then you just read the next three bytes which correspond directly to that pixel’s rgb values.

    Visit original content creator repository
    https://github.com/IcePanorama/BM-to-PNG-Converter

  • alkemyChallenge

    CHALLENGE BACKEND – Java

    Spring Boot (API) 🚀

    Objetivo

    Desarrollar una API para explorar el mundo de Disney, la cual permitirá conocer y modificar los
    personajes que lo componen y entender en qué películas estos participaron. Por otro lado, deberá
    exponer la información para que cualquier frontend pueda consumirla.

    👉 Utilizar Spring Boot.
    👉 No es necesario armar el Frontend.
    👉 Las rutas deberán seguir el patrón REST.
    👉 Utilizar la librería Spring Security.

    Requerimientos técnicos

    1. Modelado de Base de Datos

    ● Personaje: deberá tener,

    ○ Imagen.
    ○ Nombre.
    ○ Edad.
    ○ Peso.
    ○ Historia.
    ○ Películas o series asociadas.

    ● Película o Serie: deberá tener,

    ○ Imagen.
    ○ Título.
    ○ Fecha de creación.
    ○ Calificación (del 1 al 5).
    ○ Personajes asociados.

    ● Género: deberá tener,

    ○ Nombre.
    ○ Imagen.
    ○ Películas o series asociadas.

    2. Autenticación de Usuarios

    Para realizar peticiones a los endpoints subsiguientes el usuario deberá contar con un token que
    obtendrá al autenticarse. Para ello, deberán desarrollarse los endpoints de registro y login, que
    permitan obtener el token.

    Los endpoints encargados de la autenticación deberán ser:
    ● /auth/login
    ● /auth/register

    3. Listado de Personajes

    El listado deberá mostrar:
    ● Imagen.
    ● Nombre.
    El endpoint deberá ser:
    ● /characters

    4. Creación, Edición y Eliminación de Personajes (CRUD)

    Deberán existir las operaciones básicas de creación, edición y eliminación de personajes.

    5. Detalle de Personaje

    En el detalle deberán listarse todos los atributos del personaje, como así también sus películas o
    series relacionadas.

    6. Búsqueda de Personajes

    Deberá permitir buscar por nombre, y filtrar por edad, peso o películas/series en las que participó.
    Para especificar el término de búsqueda o filtros se deberán enviar como parámetros de query:
    ● GET /characters?name=nombre
    ● GET /characters?age=edad
    ● GET /characters?movies=idMovie

    7. Listado de Películas

    Deberá mostrar solamente los campos imagen, título y fecha de creación.
    El endpoint deberá ser:
    ● GET /movies

    8. Detalle de Película / Serie con sus personajes

    Devolverá todos los campos de la película o serie junto a los personajes asociados a la misma

    9. Creación, Edición y Eliminación de Película / Serie

    Deberán existir las operaciones básicas de creación, edición y eliminación de películas o series.

    10.Búsqueda de Películas o Series

    Deberá permitir buscar por título, y filtrar por género. Además, permitir ordenar los resultados por
    fecha de creación de forma ascendiente o descendiente.
    El término de búsqueda, filtro u ordenación se deberán especificar como parámetros de query:
    ● /movies?name=nombre
    ● /movies?genre=idGenero
    ● /movies?order=ASC | DESC

    11. Envío de emails

    Al registrarse en el sitio, el usuario deberá recibir un email de bienvenida. Es recomendable, la
    utilización de algún servicio de terceros como SendGrid.

    Documentación

    Es deseable documentar los endpoints utilizando alguna herramienta como Postman o
    Swagger.

    Tests

    De forma opcional, se podrán agregar tests de los diferentes endpoints de la APP, verificando
    posibles escenarios de error:

    • Campos faltantes o con un formato inválido en BODY de las peticiones
    • Acceso a recursos inexistentes en endpoints de detalle
      Los tests pueden realizarse utilizando JUnit y Mockito.

    Visit original content creator repository
    https://github.com/federicovinas7/alkemyChallenge

  • typescript_todoApp

    Getting Started with Create React App

    This project was bootstrapped with Create React App.

    Available Scripts

    In the project directory, you can run:

    npm start

    Runs the app in the development mode.
    Open http://localhost:3000 to view it in the browser.

    The page will reload if you make edits.
    You will also see any lint errors in the console.

    npm test

    Launches the test runner in the interactive watch mode.
    See the section about running tests for more information.

    npm run build

    Builds the app for production to the build folder.
    It correctly bundles React in production mode and optimizes the build for the best performance.

    The build is minified and the filenames include the hashes.
    Your app is ready to be deployed!

    See the section about deployment for more information.

    npm run eject

    Note: this is a one-way operation. Once you eject, you can’t go back!

    If you aren’t satisfied with the build tool and configuration choices, you can eject at any time. This command will remove the single build dependency from your project.

    Instead, it will copy all the configuration files and the transitive dependencies (webpack, Babel, ESLint, etc) right into your project so you have full control over them. All of the commands except eject will still work, but they will point to the copied scripts so you can tweak them. At this point you’re on your own.

    You don’t have to ever use eject. The curated feature set is suitable for small and middle deployments, and you shouldn’t feel obligated to use this feature. However we understand that this tool wouldn’t be useful if you couldn’t customize it when you are ready for it.

    Learn More

    You can learn more in the Create React App documentation.

    To learn React, check out the React documentation.

    Visit original content creator repository
    https://github.com/ludolfaugust/typescript_todoApp

  • Imagine

    Imagine App

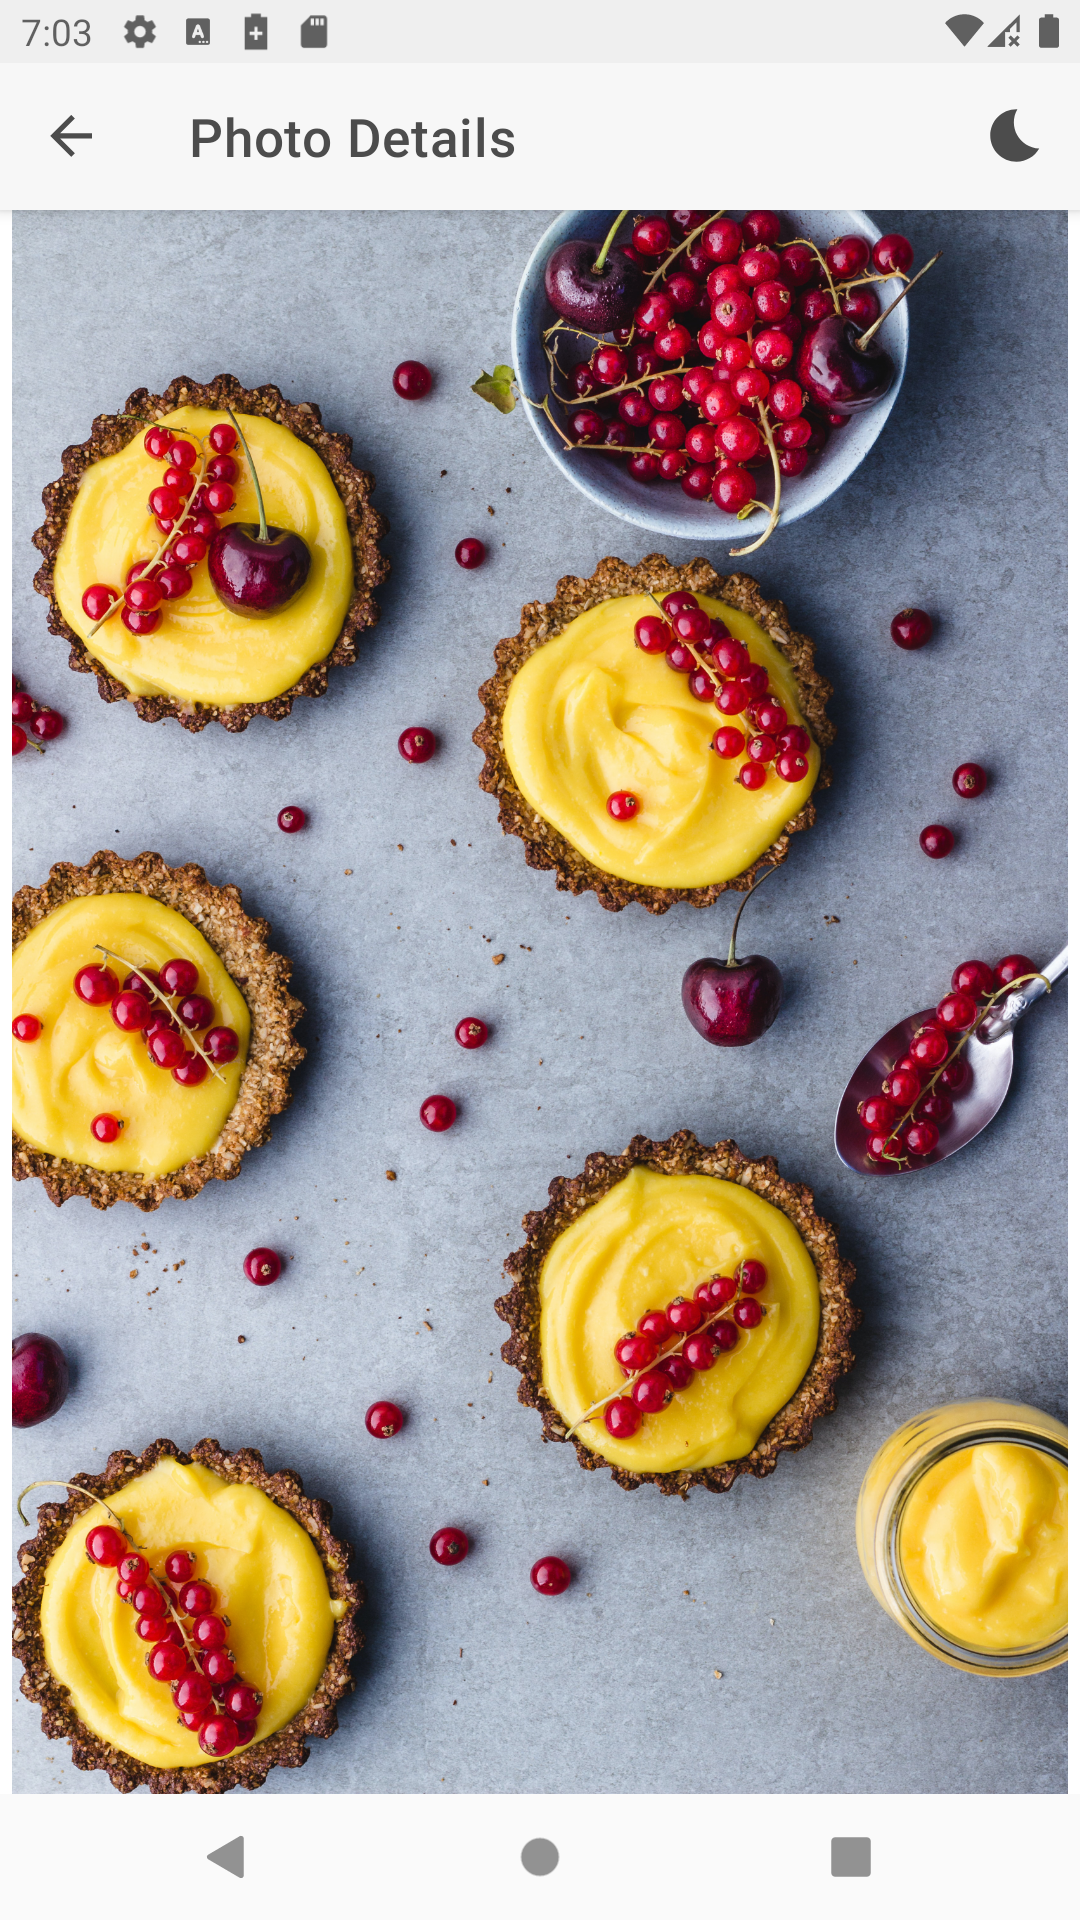
    An simple image gallery app utilizing Unsplash API.

    Tests codecov

    Built with ❤︎ by Wajahat Karim and contributors


    Features

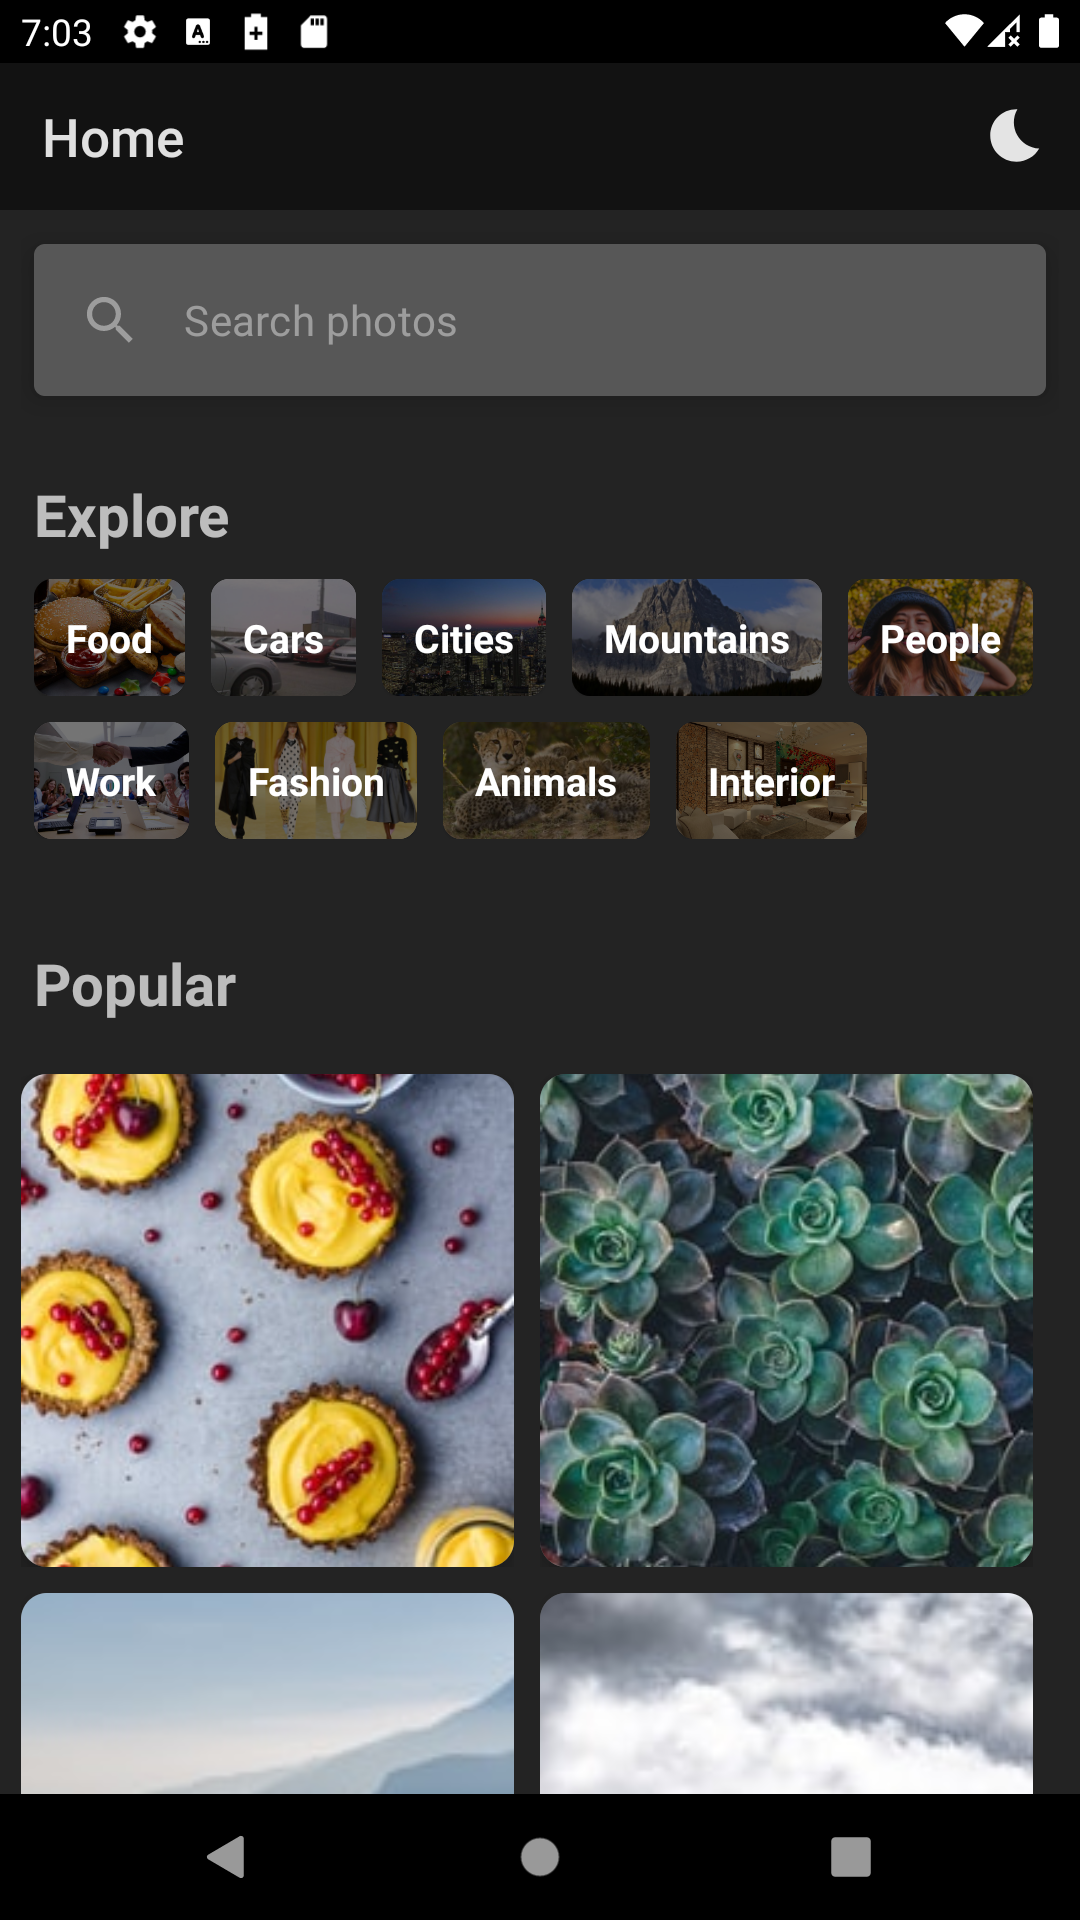
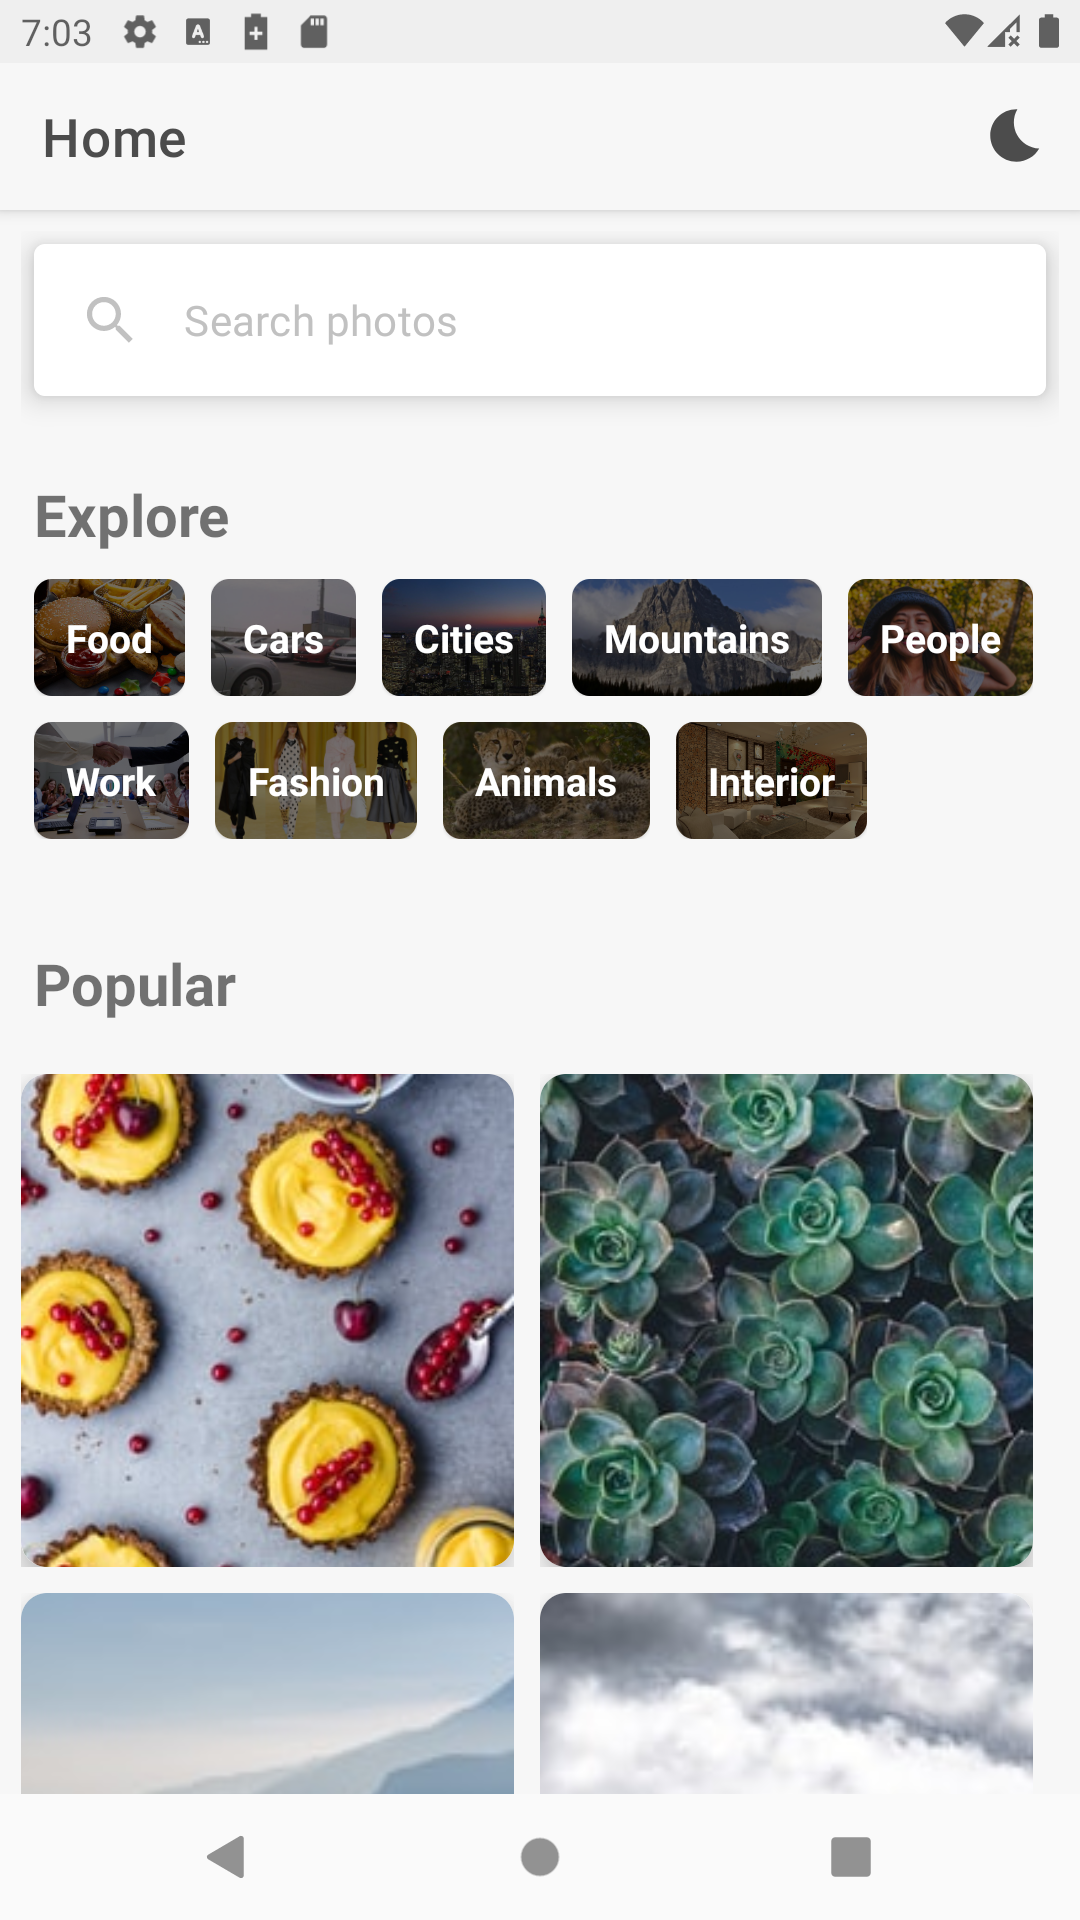
    • Popular photos with pagination support
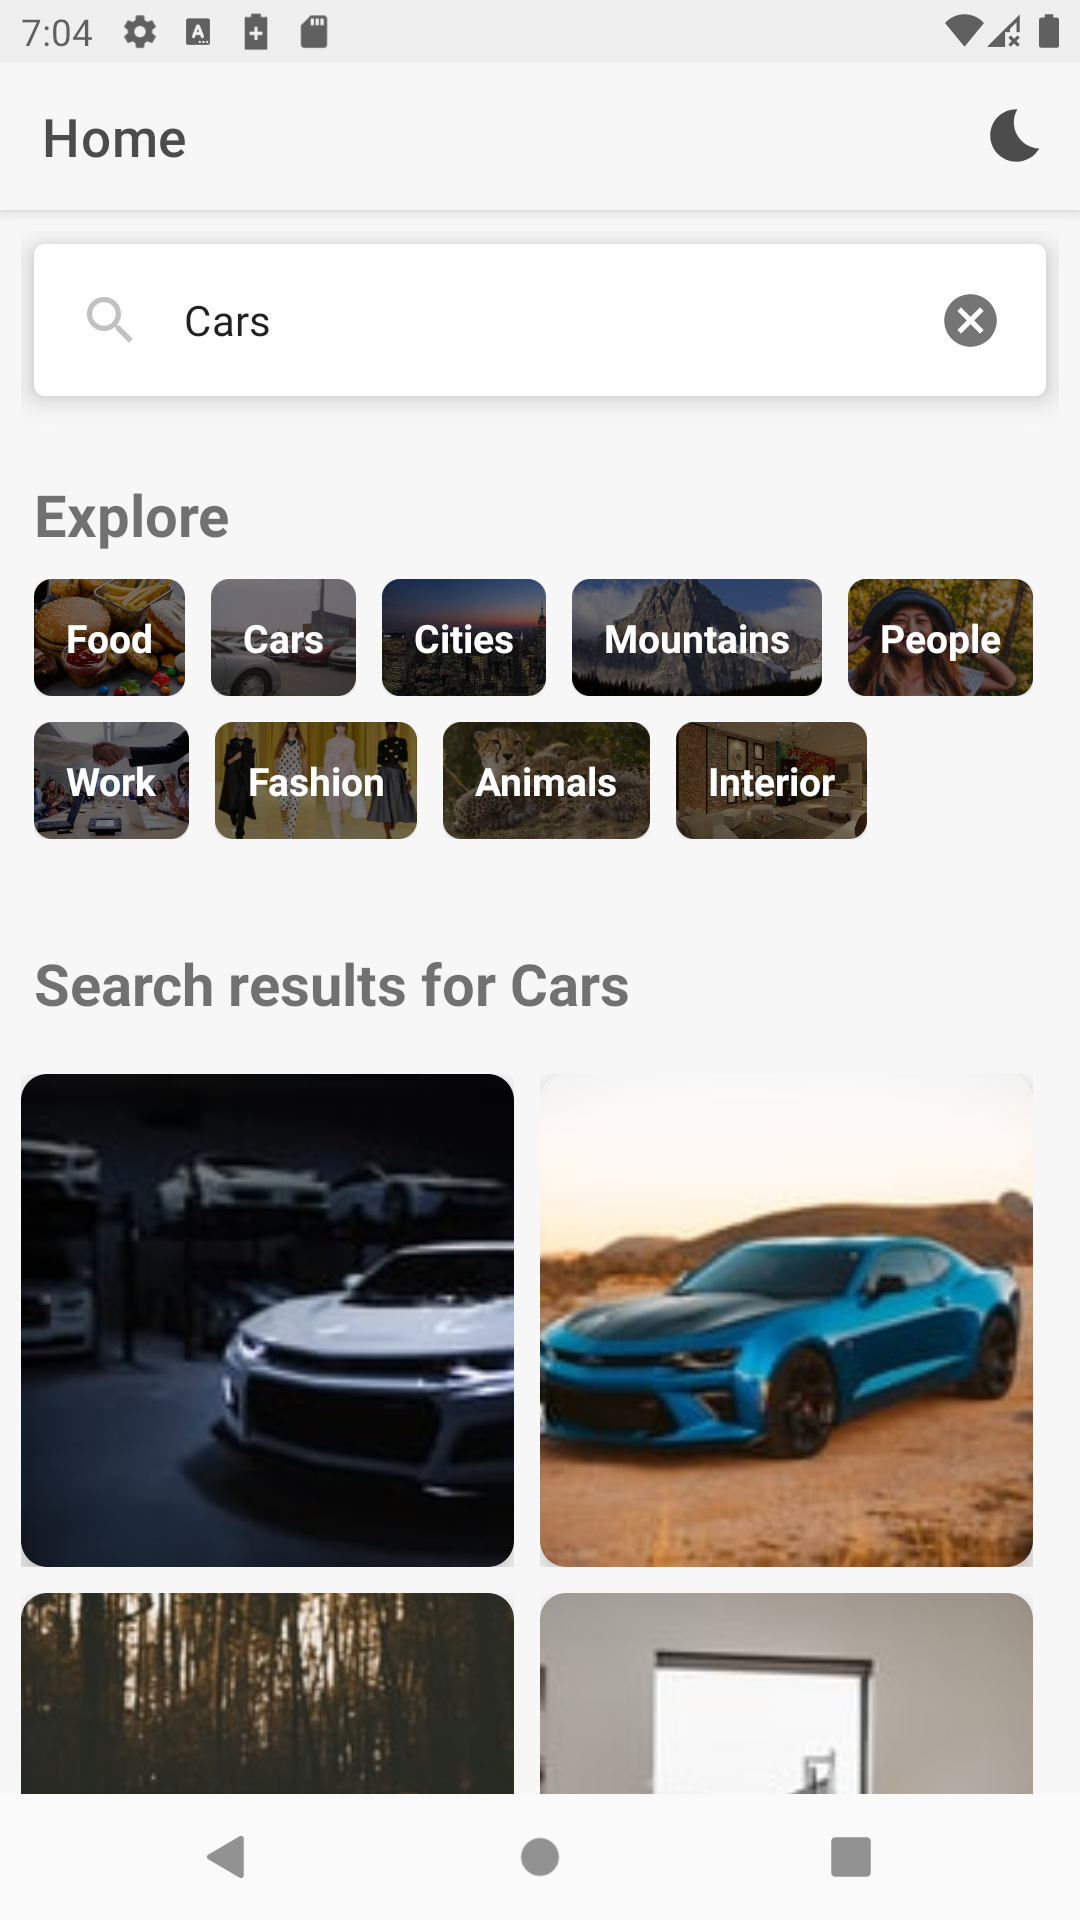
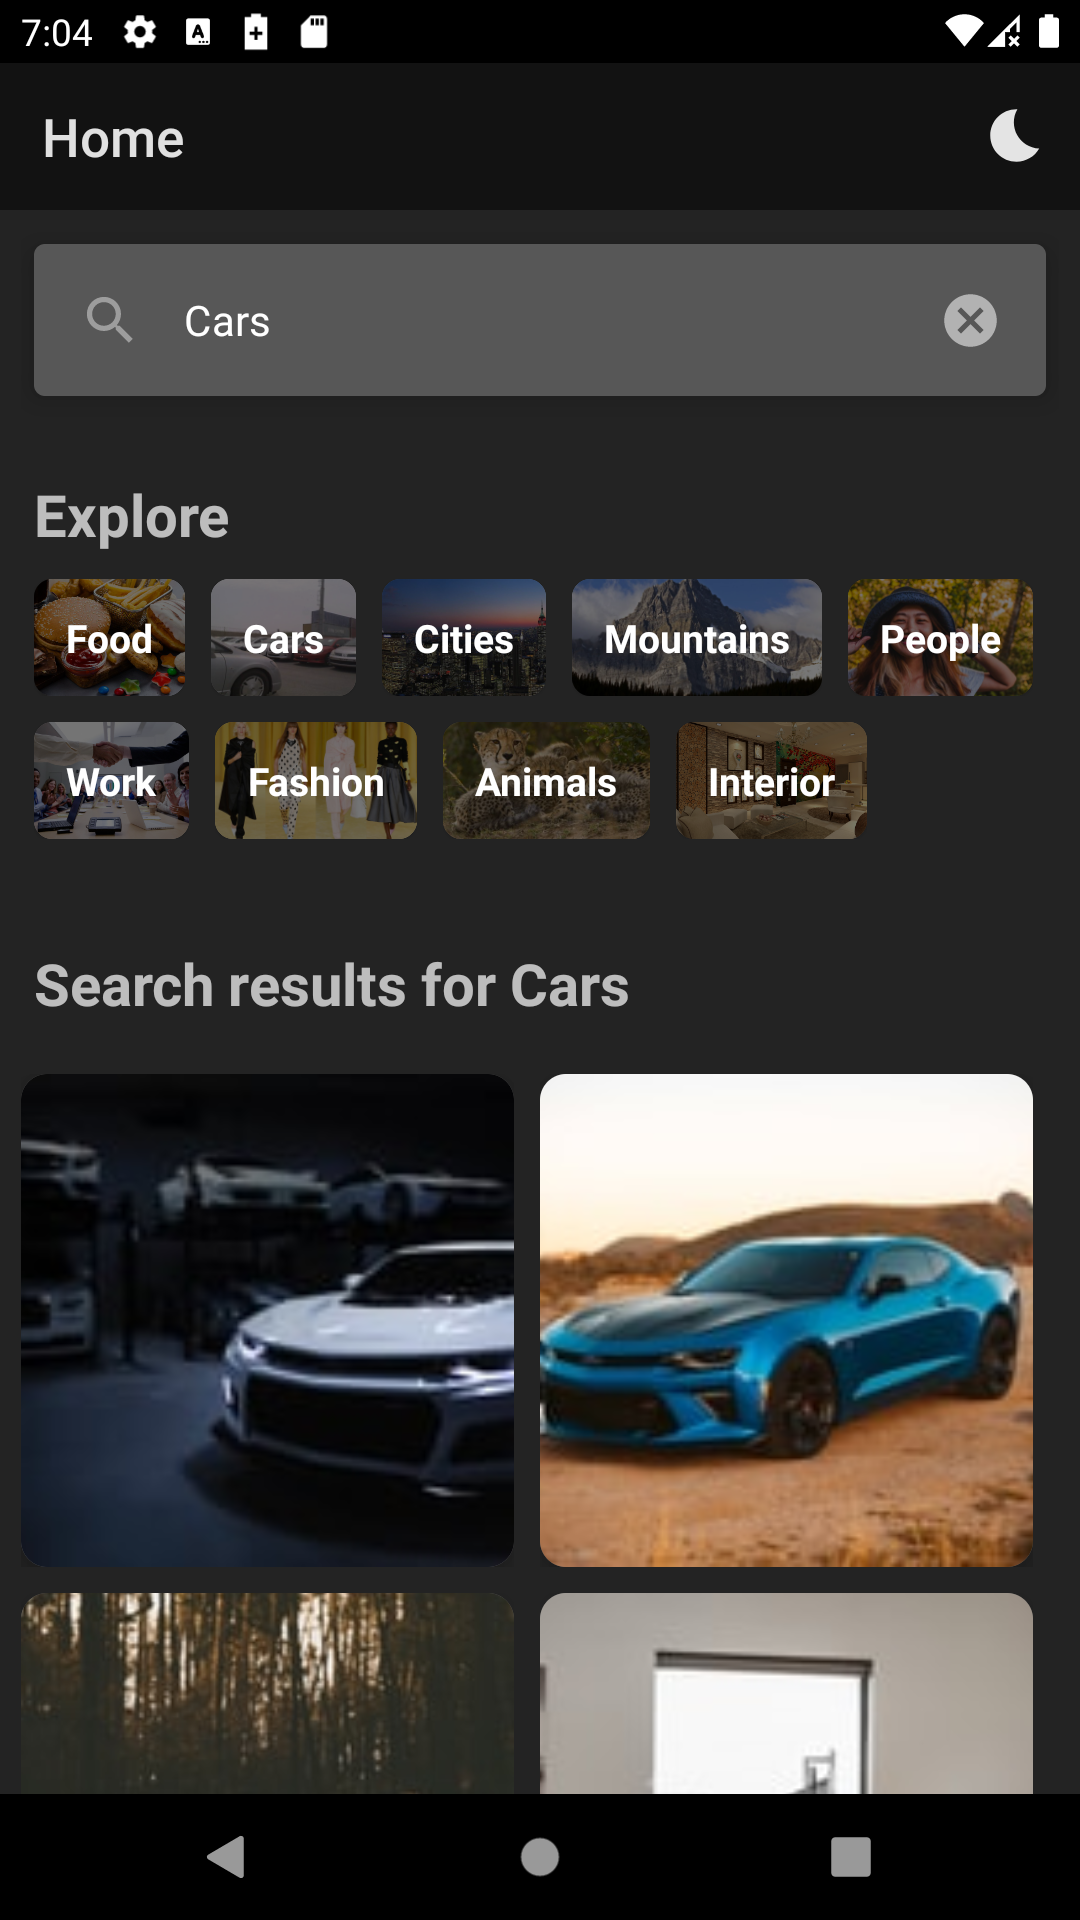
    • Quickly explore top categories like Cars, Mountains, Animals, Interior etc.
    • Search query with pagination support
    • Comes in both light and dark mode.

    Architecture

    • Built with Modern Android Development practices
    • Utilized Usecase, Repository pattern for data
    • Includes unit tests for Use cases, Repository, ViewModels, API Service response.

    📱 Download Demo on Android

    Download the APK file from here on your Android phone and enjoy the Demo App 🙂

    Built With 🛠

    • Kotlin – First class and official programming language for Android development.
    • Coroutines – For asynchronous and more..
    • Flow – A cold asynchronous data stream that sequentially emits values and completes normally or with an exception.
    • Android Architecture Components – Collection of libraries that help you design robust, testable, and maintainable apps.
      • LiveData – Data objects that notify views when the underlying database changes.
      • ViewModel – Stores UI-related data that isn’t destroyed on UI changes.
      • ViewBinding – Generates a binding class for each XML layout file present in that module and allows you to more easily write code that interacts with views.
    • Dependency Injection
      • Hilt – Easier way to incorporate Dagger DI into Android apps. This is in the main branch.
      • Dagger2 – Standard library to incorporate Dagger dependency injection into an Android application. This is in a separate dagger branch.
    • Retrofit – A type-safe HTTP client for Android and Java.
    • Material Components for Android – Modular and customizable Material Design UI components for Android.
    • Gradle Kotlin DSL – For writing Gradle build scripts using Kotlin.
    • MockK – For Mocking and Unit Testing

    👨 Developed By

    Wajahat Karim

    Twitter Web Medium Linkedin

    Visit original content creator repository https://github.com/wajahatkarim3/Imagine
  • aiof-auth

    Overview

    All in one finance authentication API

    build Build Status

    Documentation

    Overall documentation for the aiof Auth microservice

    Authentication

    Authentication can be done via the /auth/token endpoint. There are several ways an entity can authenticate:

    • email and password for User
    • api_key for User or Client
    • refresh_token for User or Client

    Example for User

    Request

    {
        "email": "test@test.com",
        "password": "test"
    }

    Response

    {
        "token_type": "Bearer",
        "expires_in": 900,
        "access_token": "jwt_access_token",
        "refresh_token": "refresh_token"
    }

    Example for Client

    Request

    {
        "api_key": "api_key_here"
    }

    Response

    {
        "token_type": "Bearer",
        "expires_in": 900,
        "access_token": "jwt_access_token",
        "refresh_token": "refresh_token"
    }

    Tests

    Unit tests are ran on each pipeline build. The pipelines are built with Azure DevOps from the azure-pipelines.yml file. Additionally, as part of the build pipeline, there are test result coverage reports done by Coverlet. Also, you can click on the build pipeline badge and check the unit test coverage for the latest run

    Libraries

    JWT

    OpenSSL

    The service currently uses RSA256 algorithm to sign the JWT’s. For this scenario we use OpenSSL to generate a private and public key. In order to do so follow the below steps:

    • Install openssl tools from Chocolatey by running the following command: choco install openssl.light (needs to only be done once)
    • Then restart PowerShell, if required
    • Navigate to a desired directory to create the .pem files
    • Run the command: openssl genrsa -out private-key.pem 2048
    • Run the command: openssl rsa -in private-key.pem -outform PEM -pubout -out public-key.pem

    A good article with detailed documentation can be found here. Also, a .pem to XML converter tool can be found here

    How to run it

    The best and recommended way to run it is using docker-compose. Additionally, below are some quick commands/tips to run it locally.

    From the root project directory

    dotnet run -p .\aiof.auth.core\

    Or change directories and run from the core .csproj

    cd .\aiof.auth.core\
    dotnet run

    Make API calls to

    http://localhost:5000
    

    Docker

    Pull the latest image from Docker Hub

    docker pull gkama/aiof-auth:latest

    Or build the local Dockerfile.local

    docker build -t aiof-api:latest -f Dockerfile.local .

    Run it

    docker run -it --rm -e ASPNETCORE_ENVIRONMENT='Development' -p 8001:80 gkama/aiof-auth:latest

    Make API calls to

    http://localhost:8001/
    

    (Optional) Clean up none images

    docker rmi $(docker images -f "dangling=true" -q)

    Docker compose

    From the root project directory

    docker-compose up
    Visit original content creator repository https://github.com/kamacharovs/aiof-auth